Shaping a Fish Surfboard - Part 2 The Outline
Creating the outline of the board.
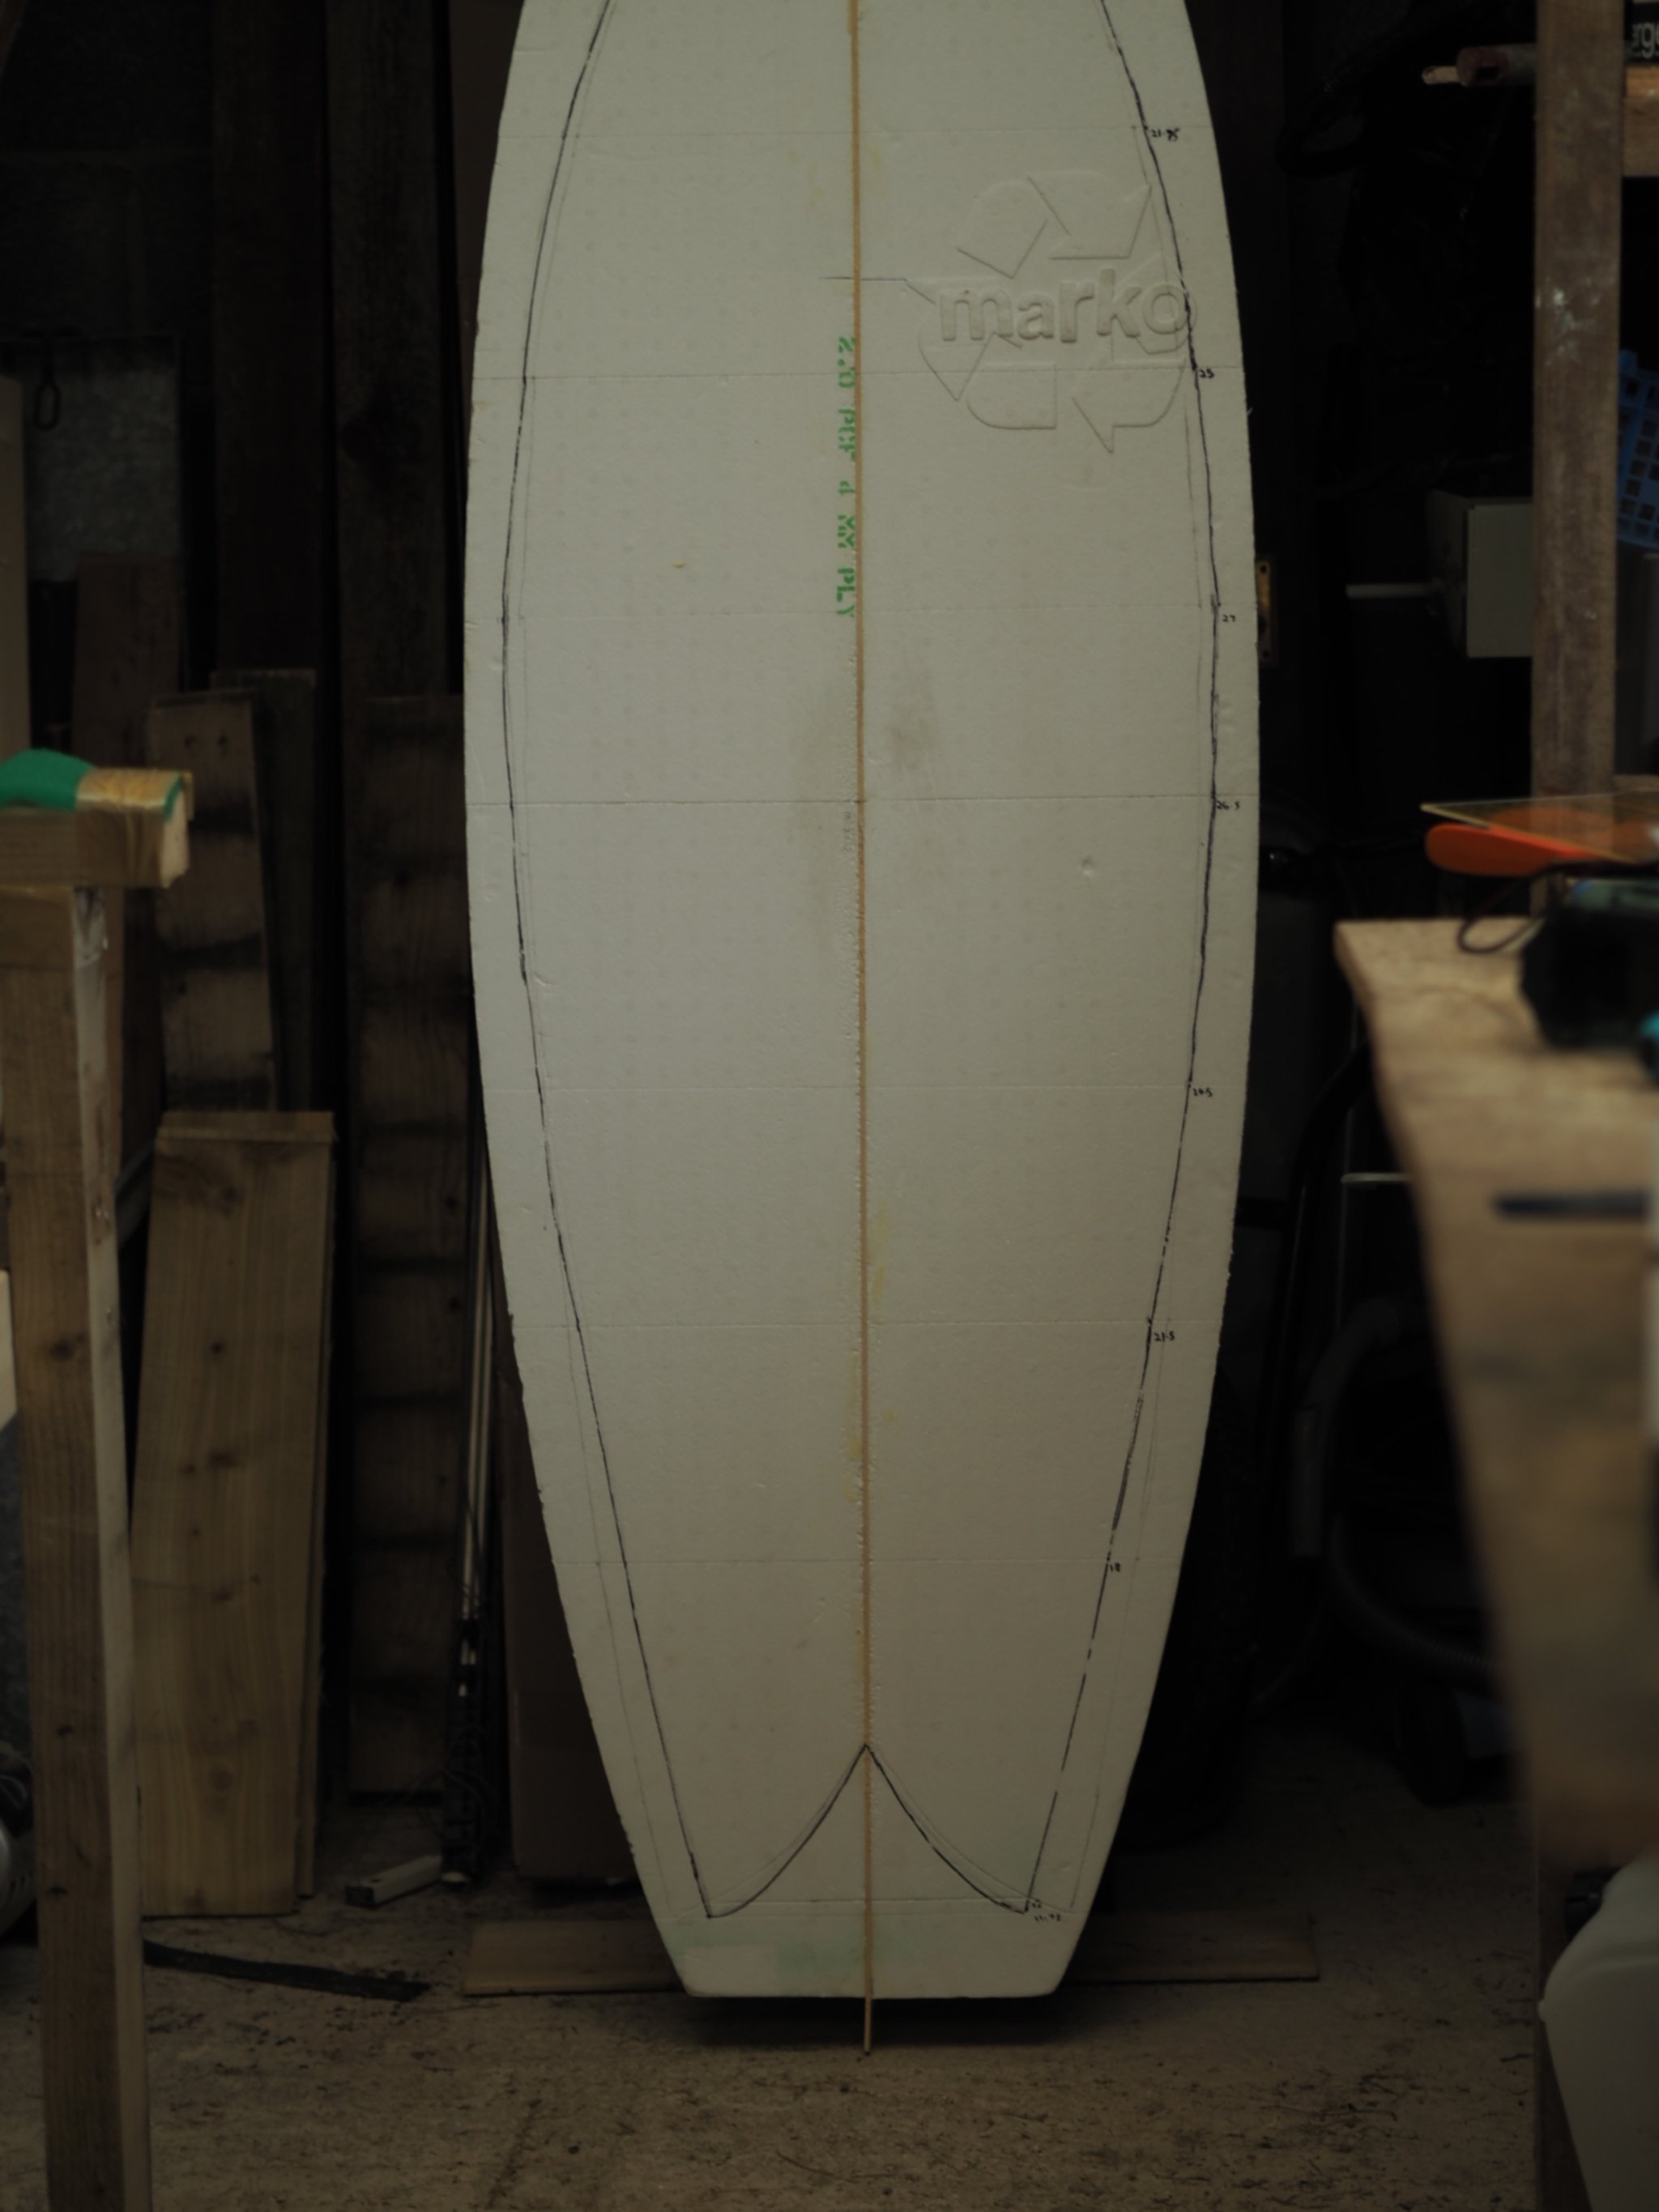
I used a rough Fish template from Blending Curves then pulled in the tail to resemble the Christenson Twin Fish. Next we went onto making the first cut.

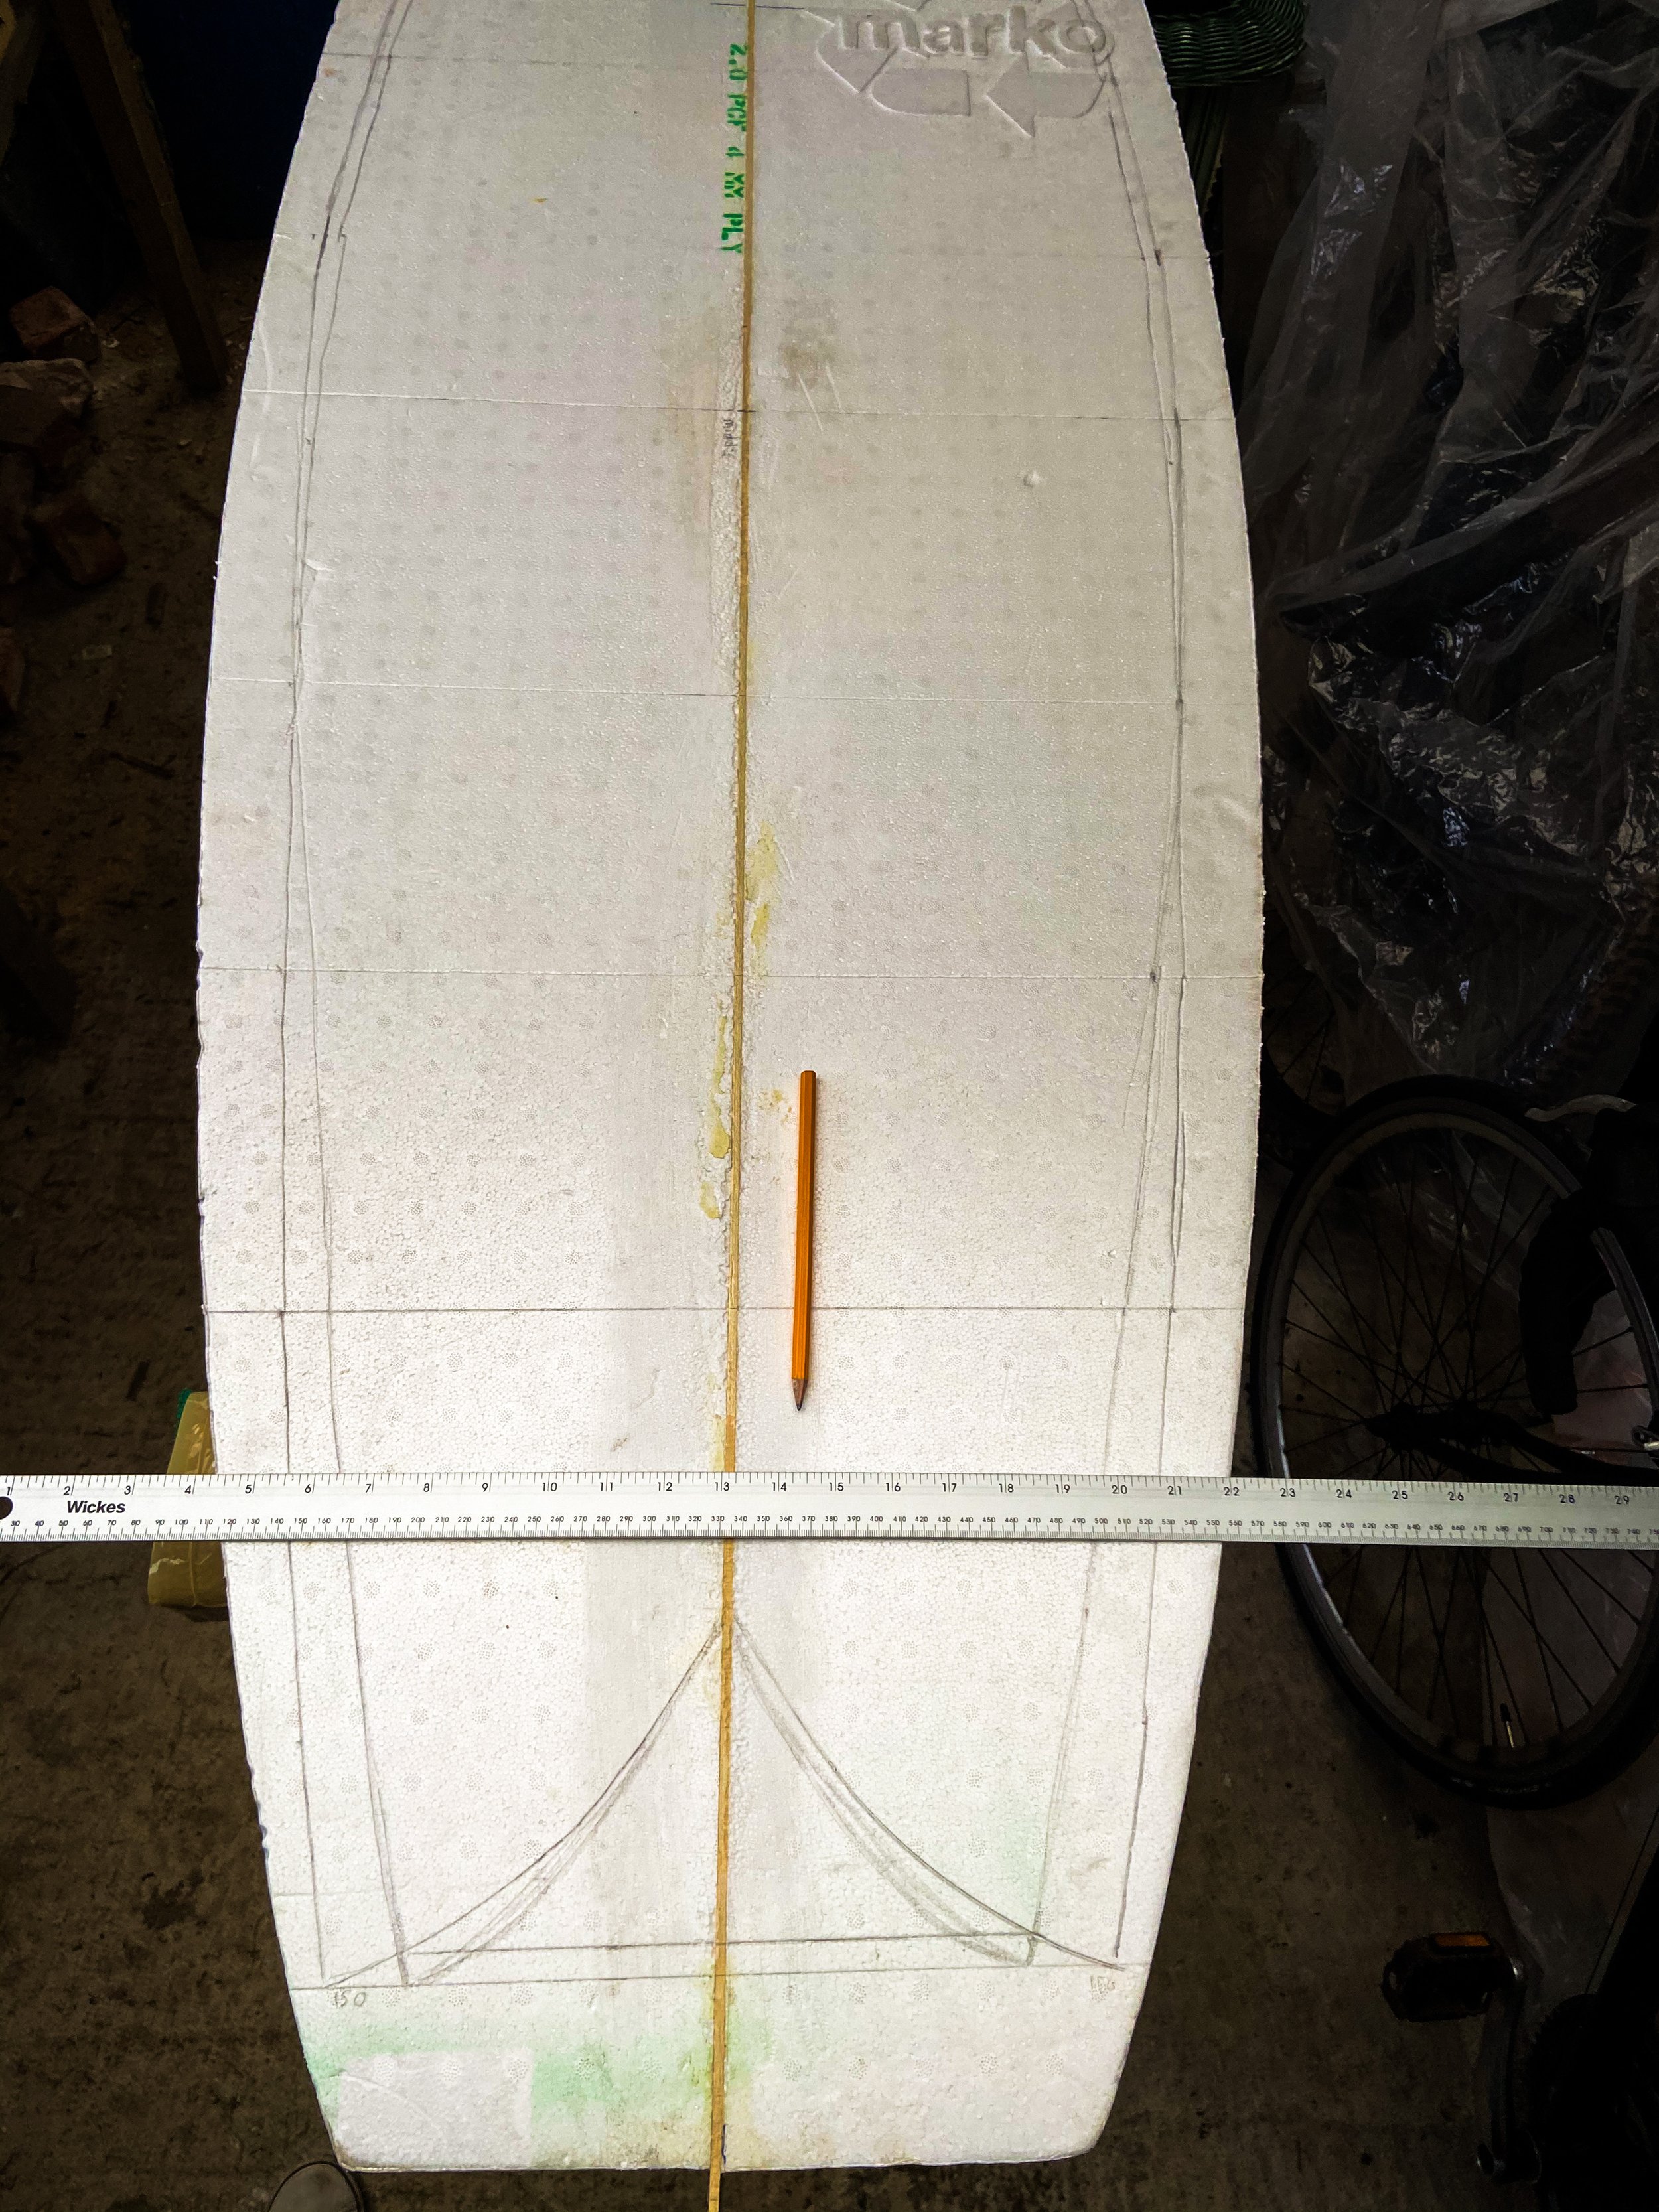
A rough outline ready to cut


Approximate Time
1.5 hours
Tools needed for the cut.
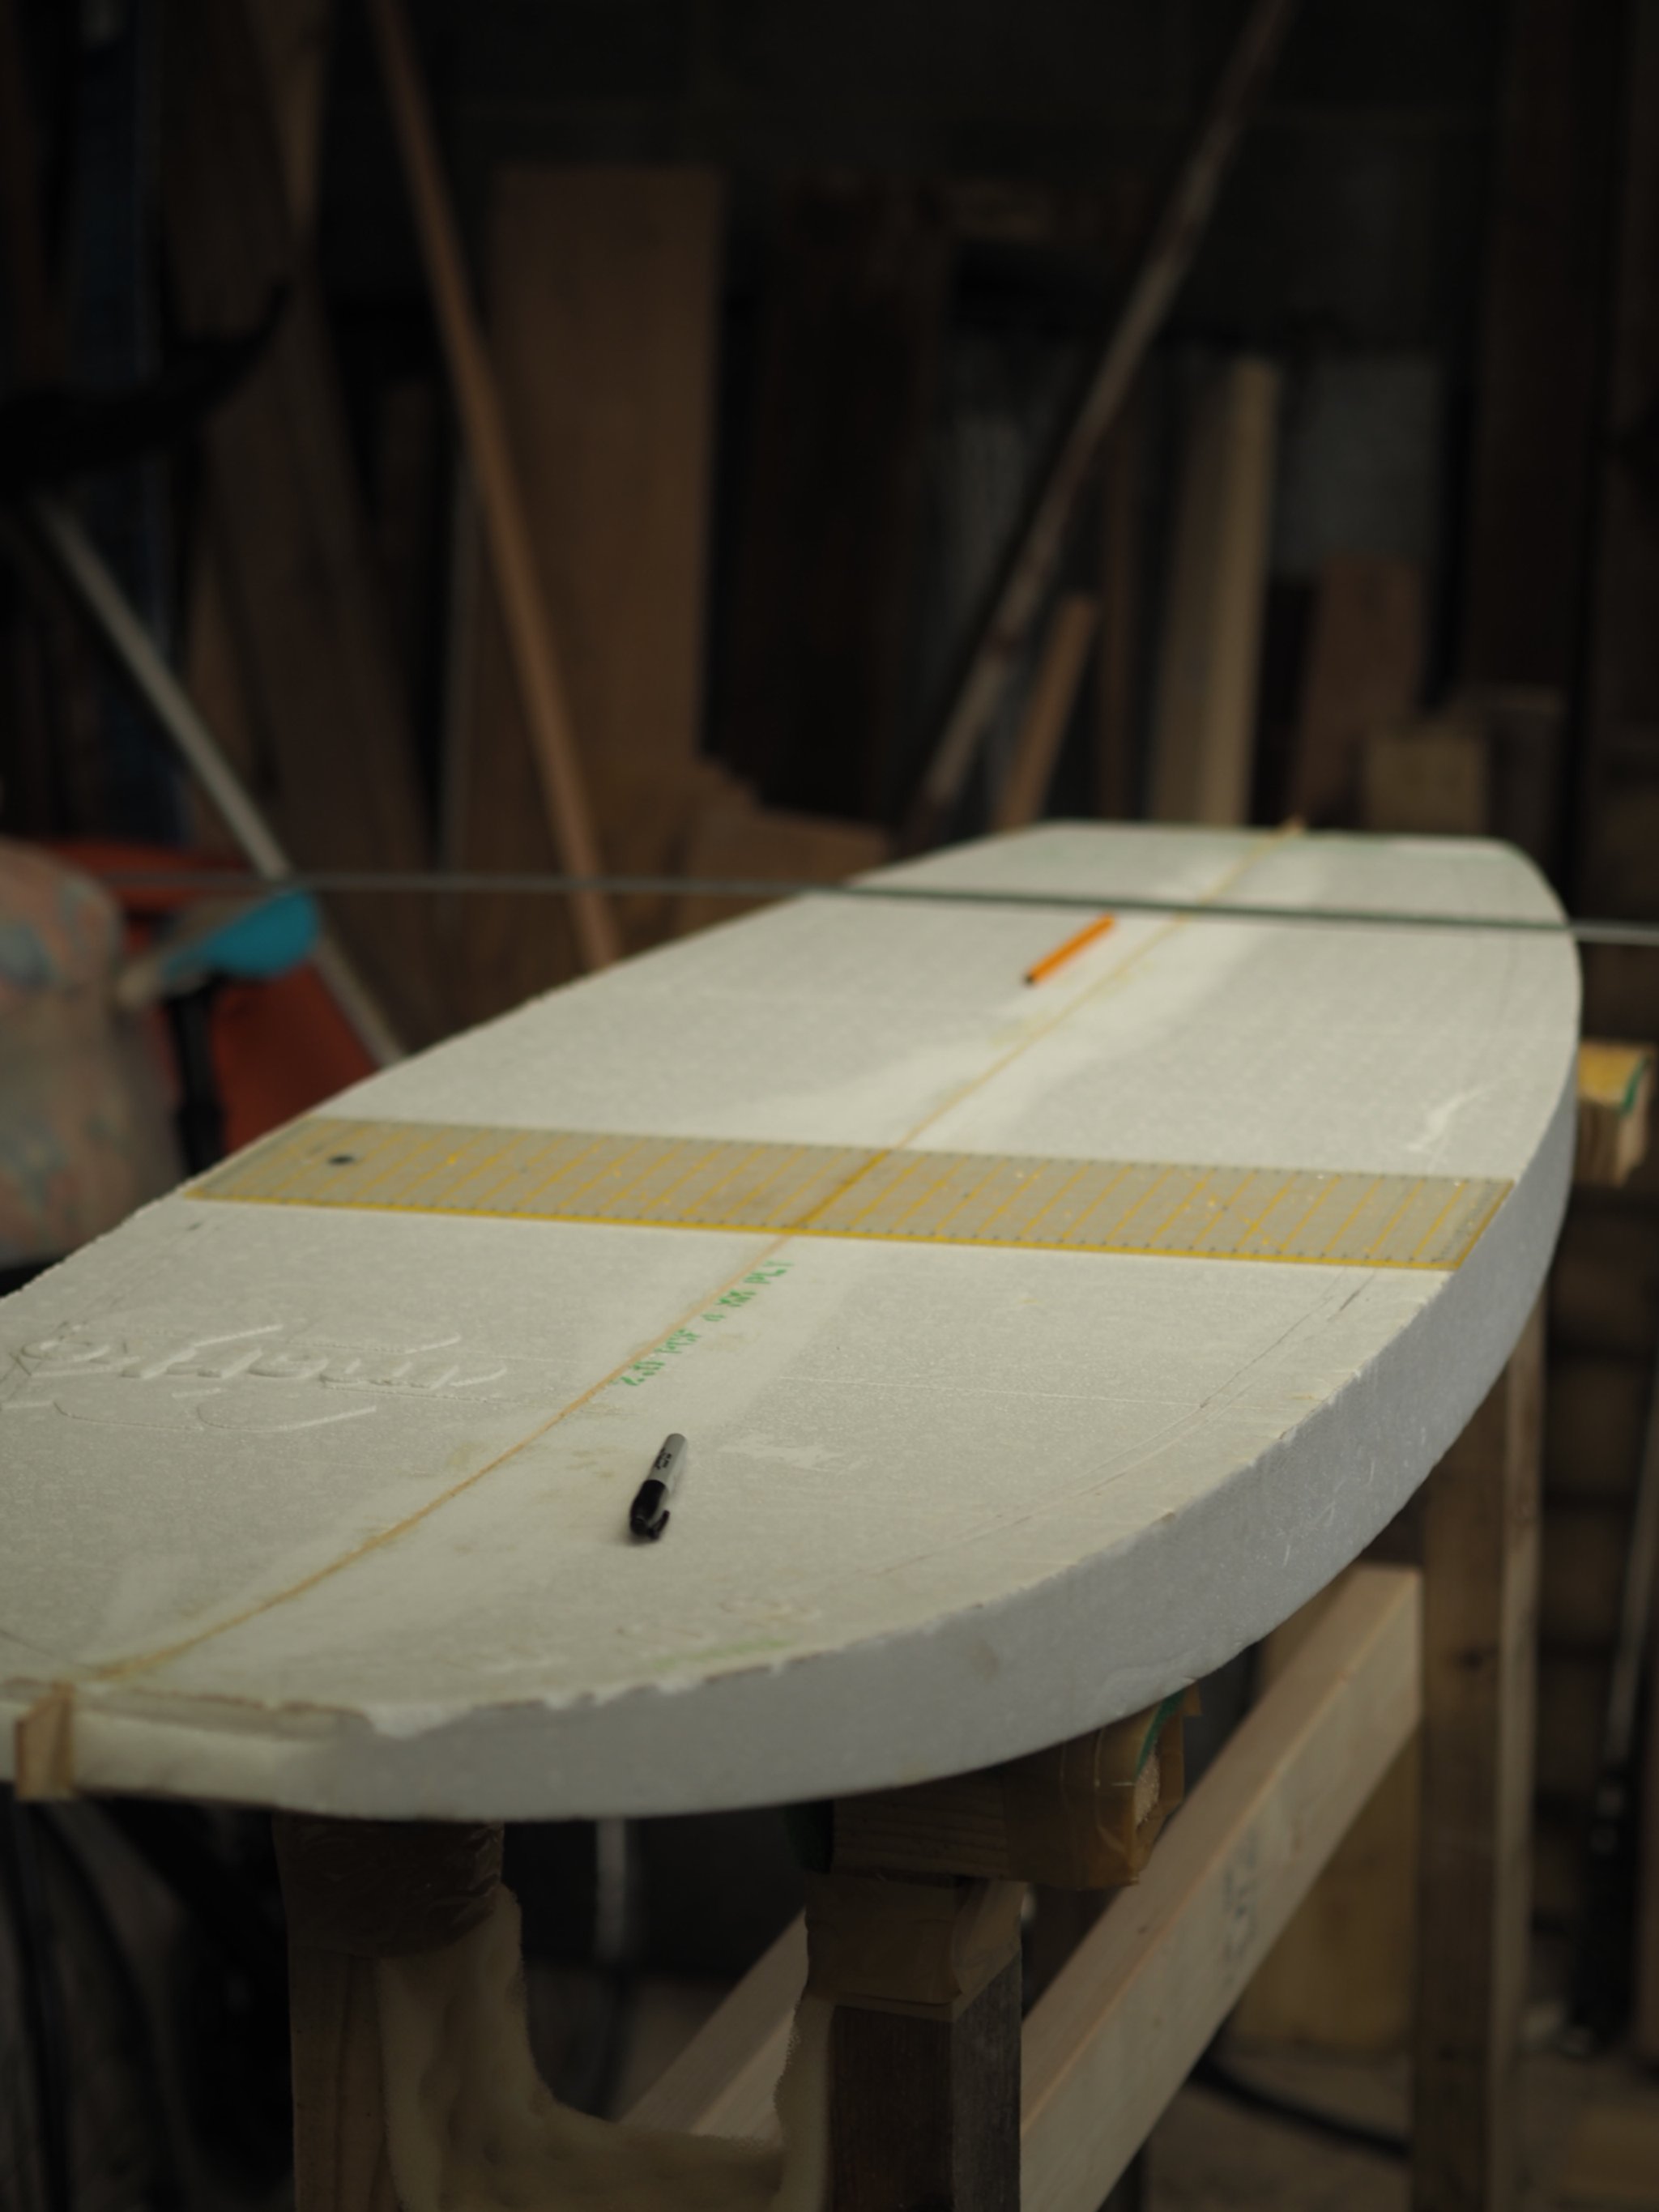
1 - A Shapers Square. This will help you get a symmetrical outline.
2- A sharp handsaw (Or a jigsaw).
The Process
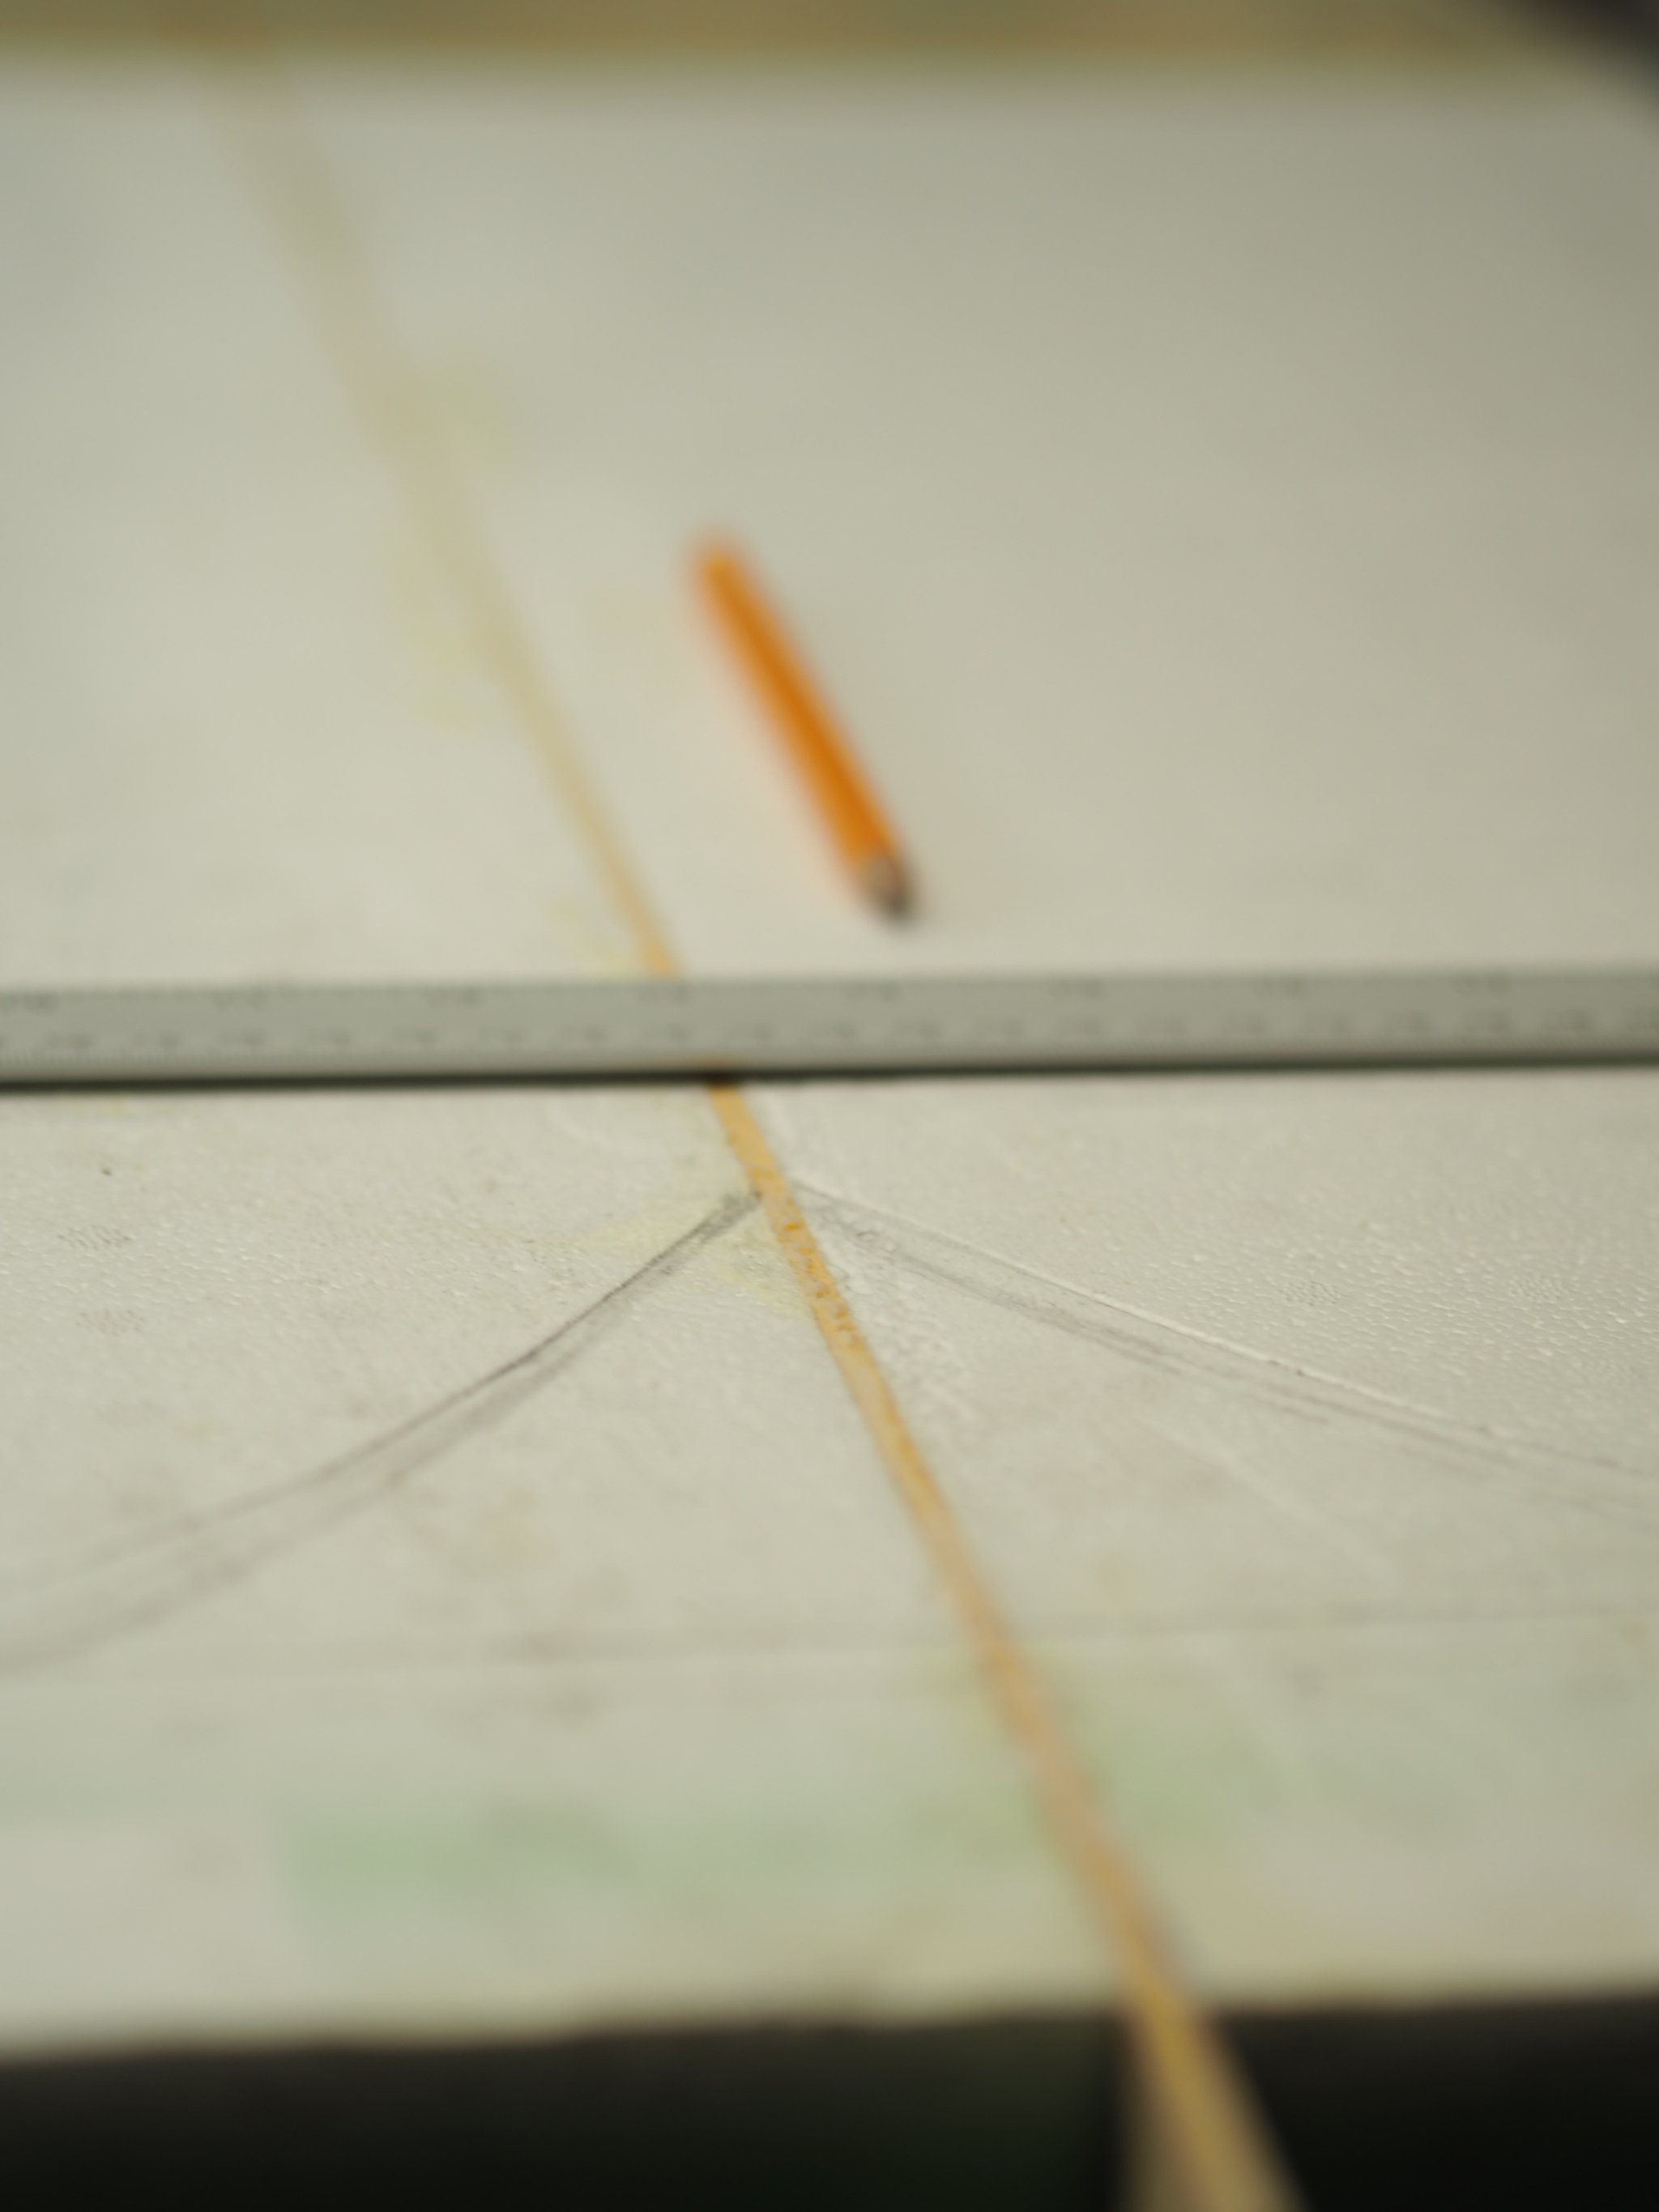
1 - Once you’ve drawn the outline and you’ve measured the width to be even from top to bottom, you can then begin to make the first cut. This is the first step and very important to get right.
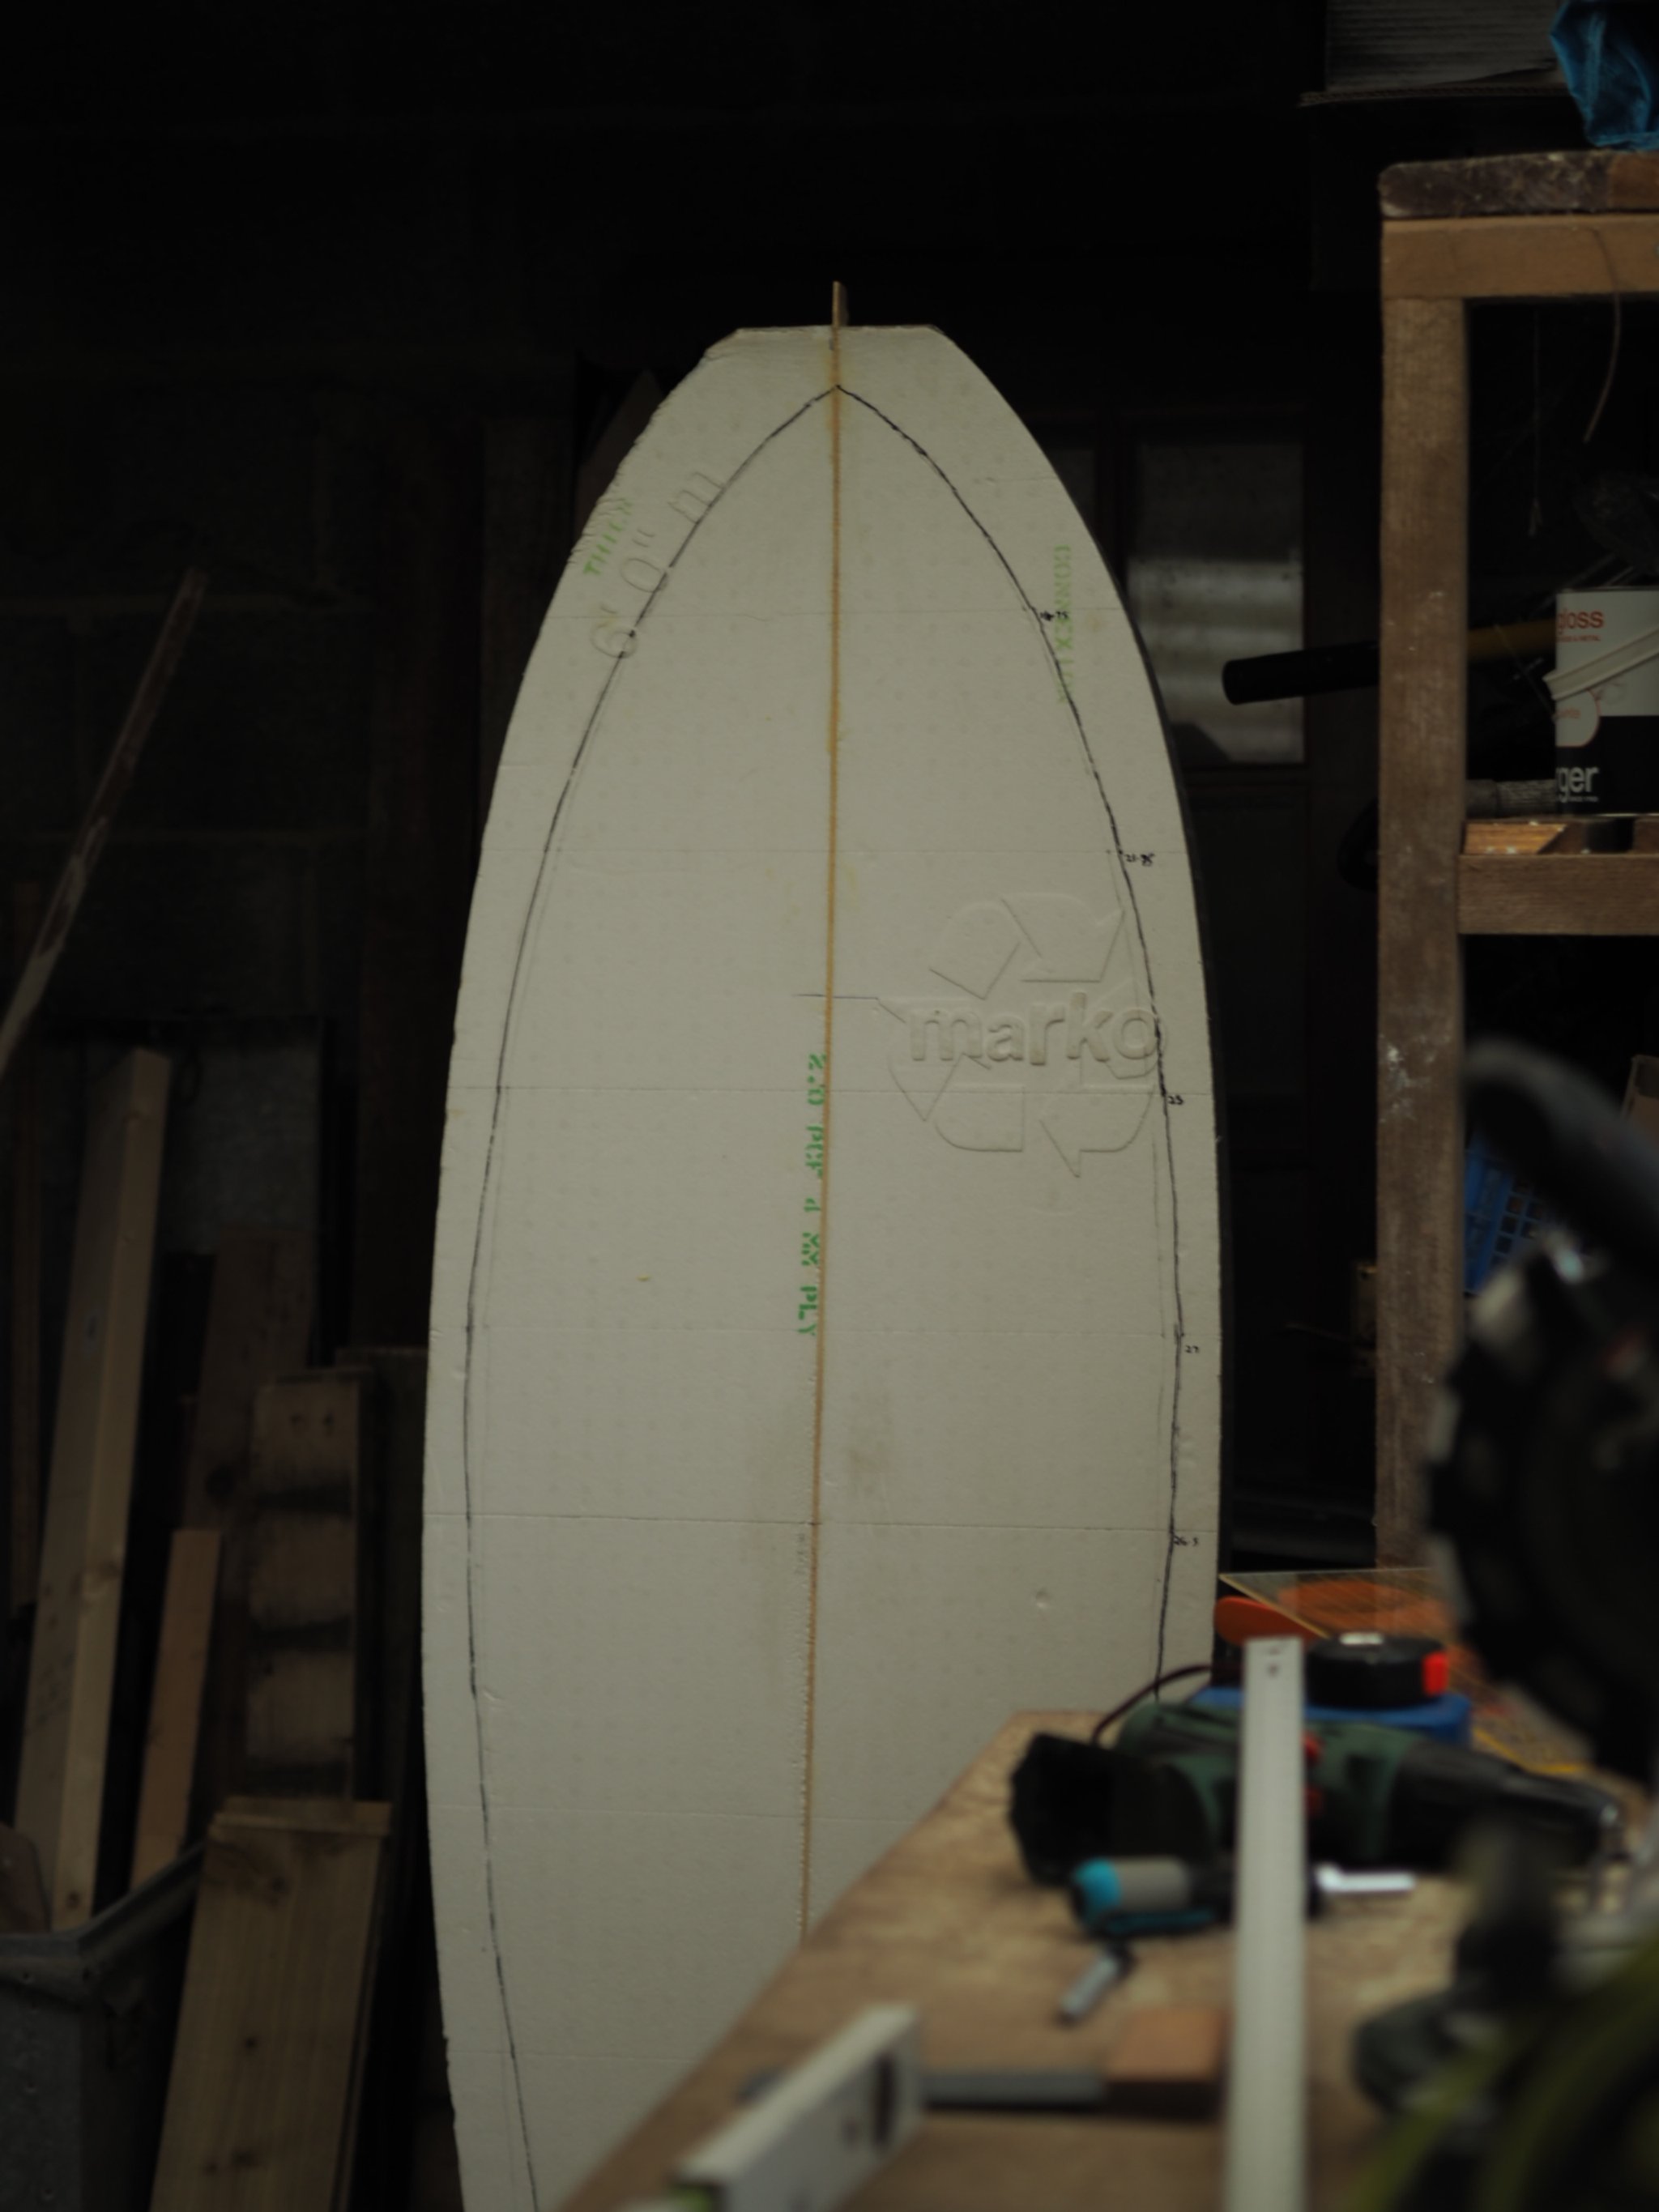
Using a handsaw, ensure the blade is at a 90 degree angle to the surfboard to ensure your cut is square. If you cut at an angle, the deck of the board is at risk of being a different width to the bottom of the board. If confident, you can cut the board just outside of the outline markings. (However, you can give yourself a few millimeters buffer and sand to the line ‘post-cut’.
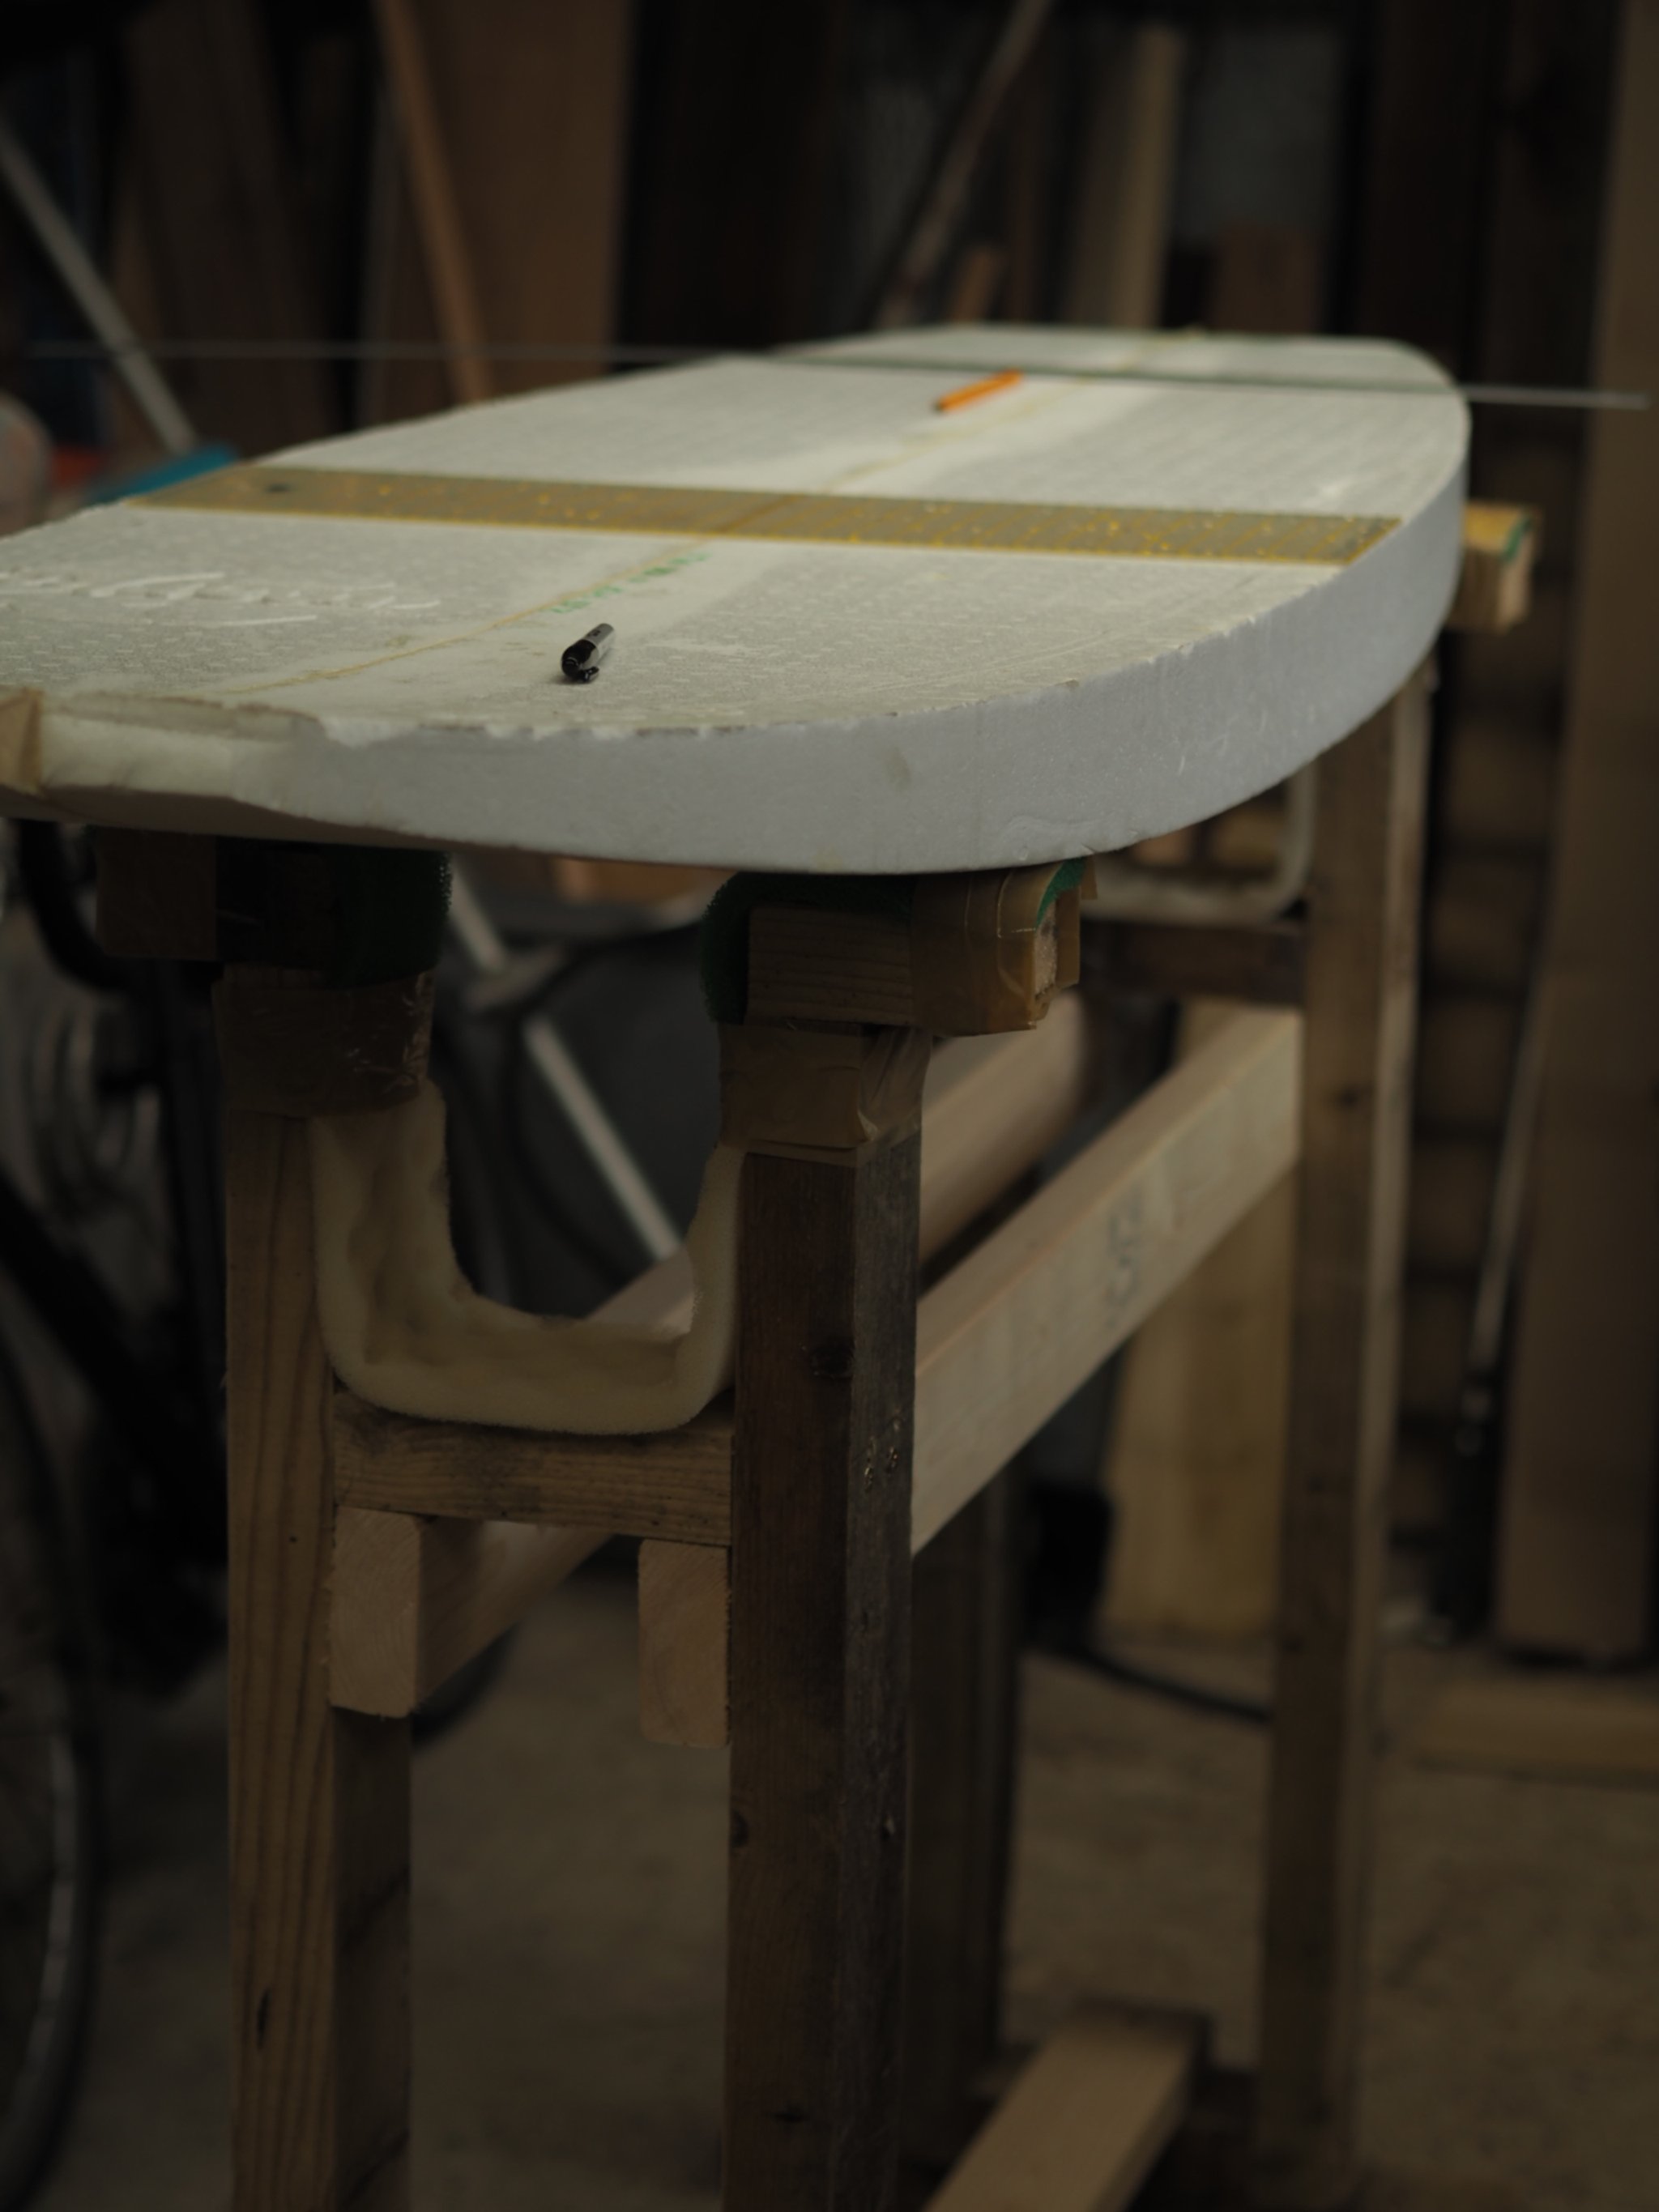
2 - Using a sanding block, neaten up the edges ensuring a square rail all over. This will help to measure the thickness of the board and to shape the rails.