
Shaping a Fish- Foiling the deck
Planing the deck of the Surfboard
Once the bottom has been planed to thickness and the rocker is set up right, you can get on with flattening the deck of the board. Flip the board over so you’ve got it the right way up and begin on the deck.
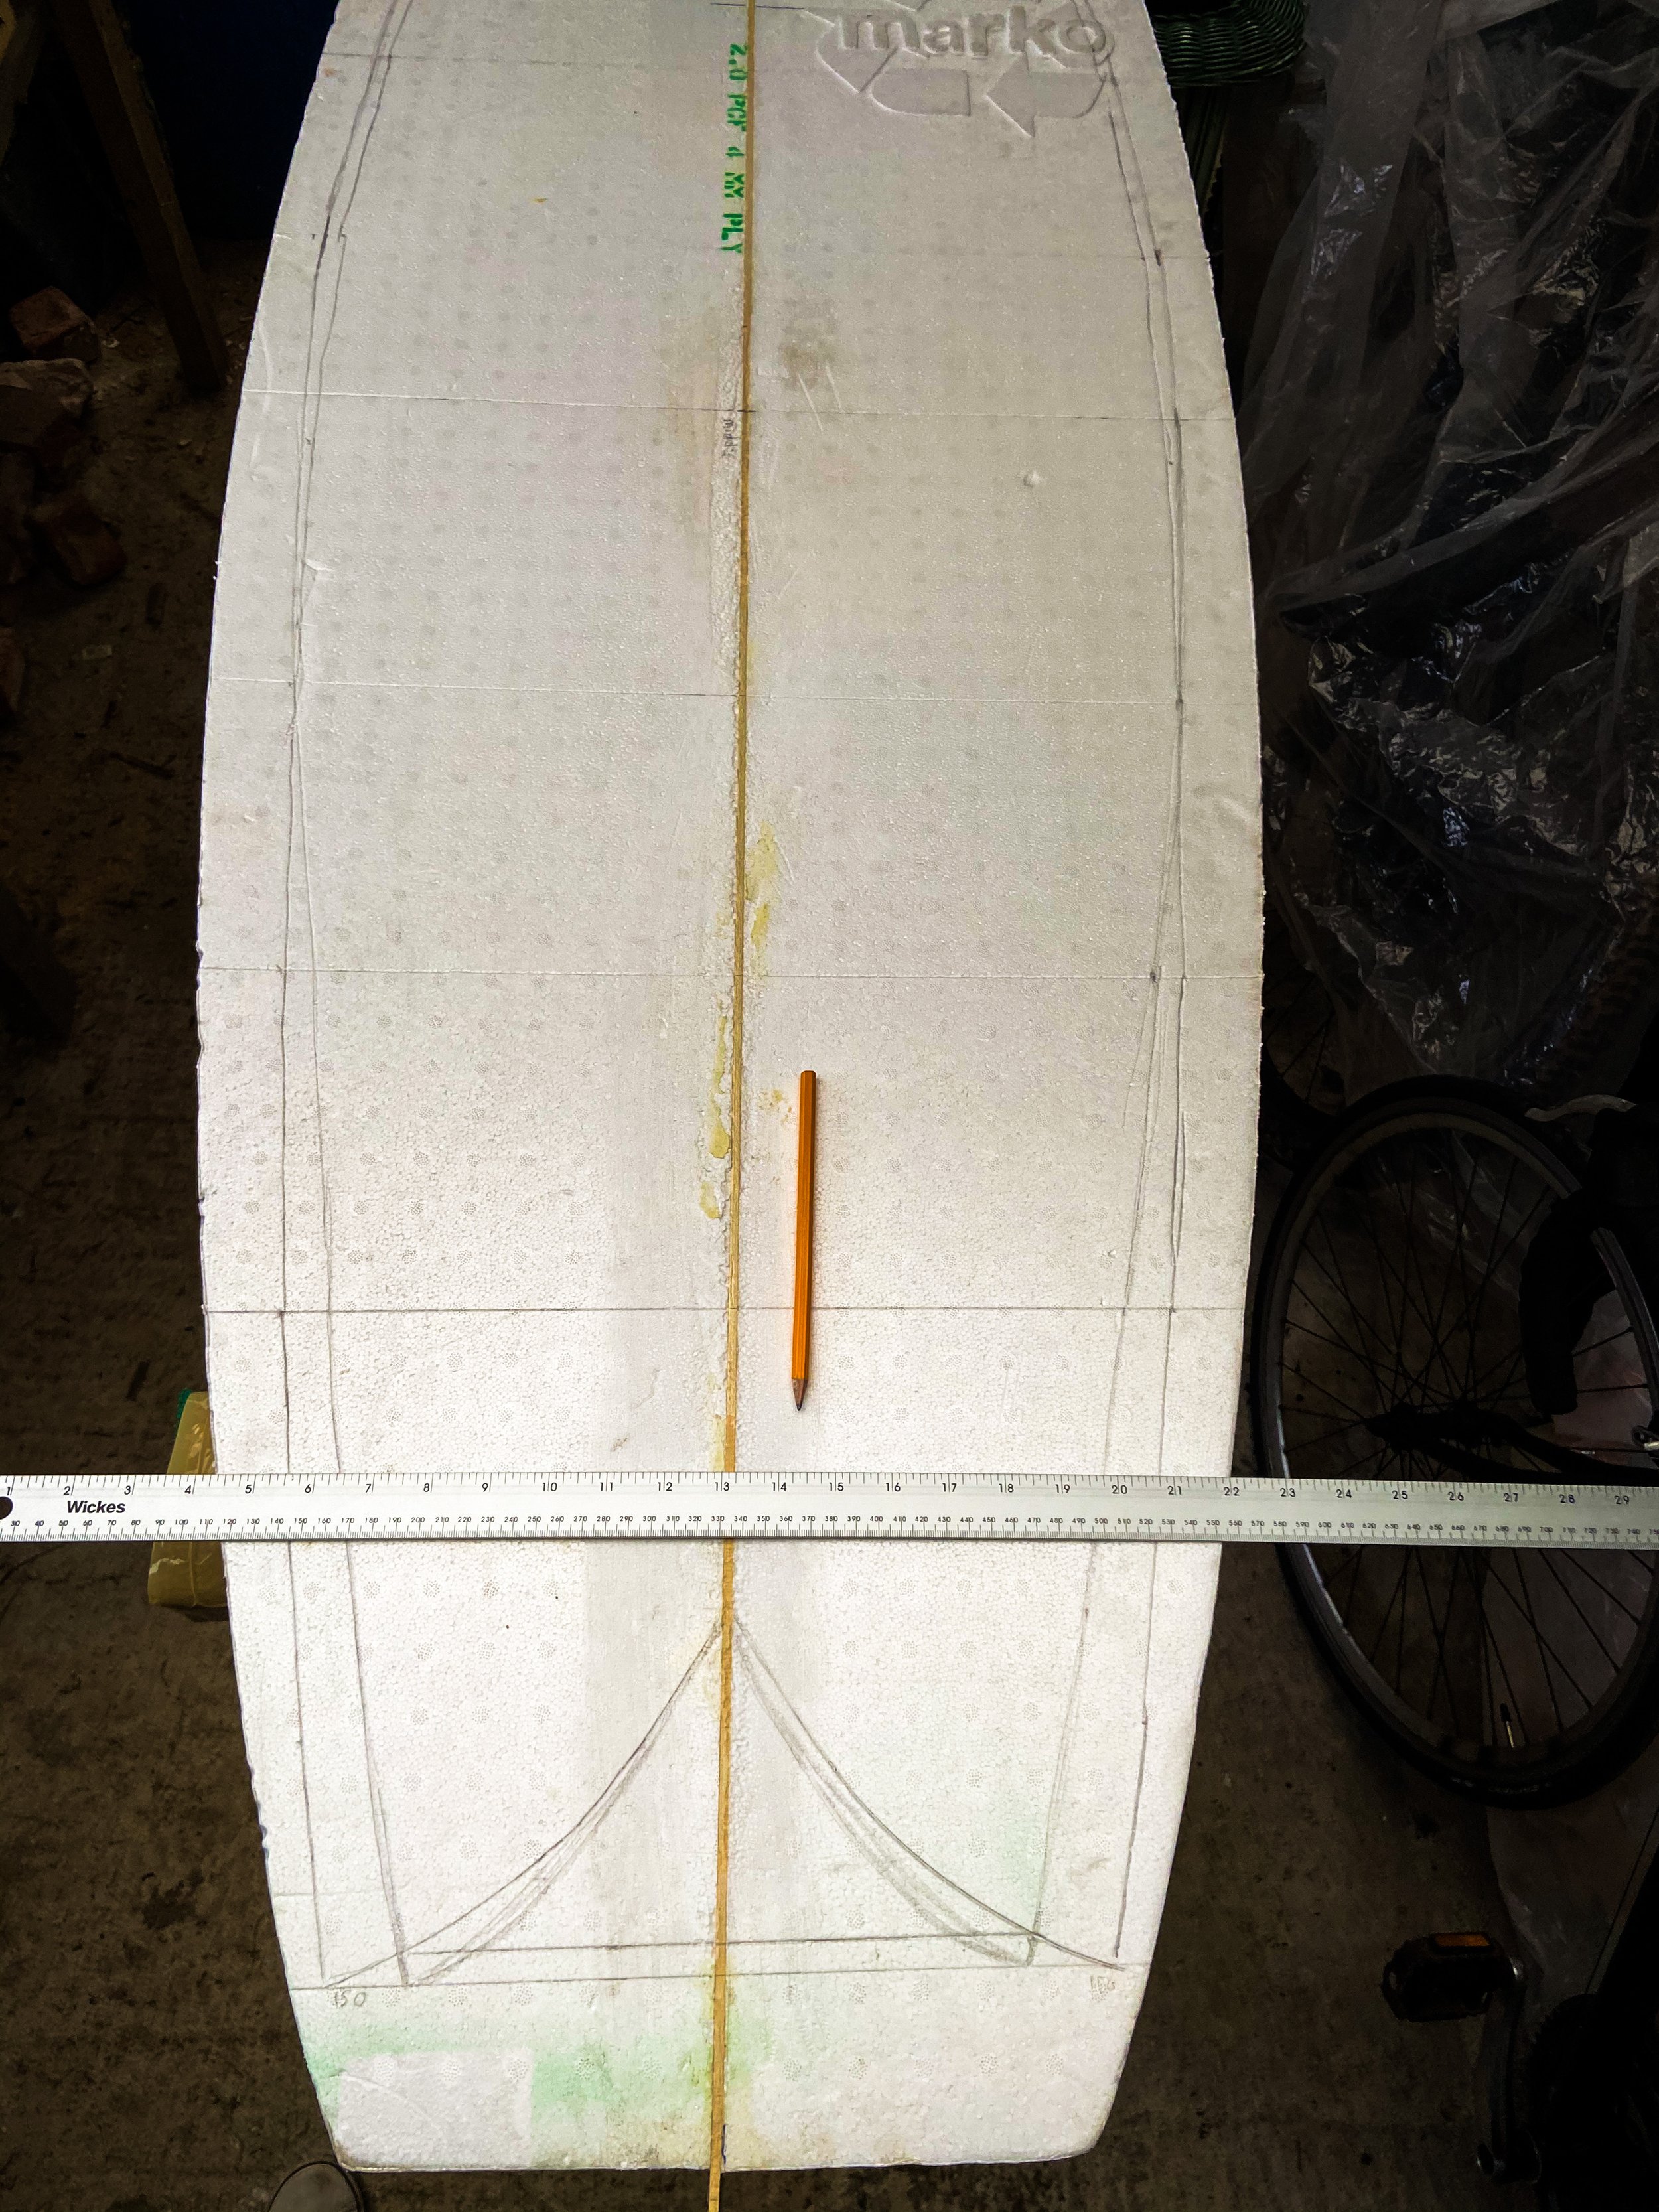
You’ll want to mark the board, 12 inches from the nose, 24 inches from the nose, 12 from the tail and 24 from the tail. You’ll also need to mark the overall thickness of the board which is at the center, or the centralised balance point of the board.

Shaping the top foil - the deck of the surfboard
With the bottom of the board done. You should have left roughly 1/4 of an inch to take some foam off the top to end up at your final thickness in all marked locations.
Tools needed
Electric planer
Shapers Square
Calipers
Surform
Sanding blocks
Estimated time needed
1 hour for begginers
Step 1
Measure and mark the deck at 12 inches and 24 inches from the nose, 12 and 24 from the tail and mark the center.
Use your measuring calipers to confirm the current thickness.
Step 2
Using the electric planer, take the board down slowly to its desired thickness. The nose of the board can be difficult to plane due to the upwards gradient. You may want to use a surform in those locations, but be careful if using EPS foam as it can chip away in large chunks if you’re not careful.
Step 3
Go over the board with 60 grit sandpaper to get a smooth finish. You’ll be going over it again later with 80 grit as well.
Step 4
Measure the thickness again in the same locations to ensure correct thickness. We’re not going to cut out the tail of the Fish just yet.

Shaping a Fish - Part 3 Rockers
Shaping / Planing the rocker and thickness of the Surfboard
The next step was to plane the rocker. The flat fish is very flat, so a very small amount of rocker.
Approx Time Required
2 hours (for beginners)
Tools required
An electric planer
Sanding blocks
Measuring callipers (do not make your own like in the image below. Accuracy is key here)
A flat bar
Ruler/tape measure

Planing the Flat Fish Surfboard Rocker
You’ll need your measurements ready for this.
Step 1
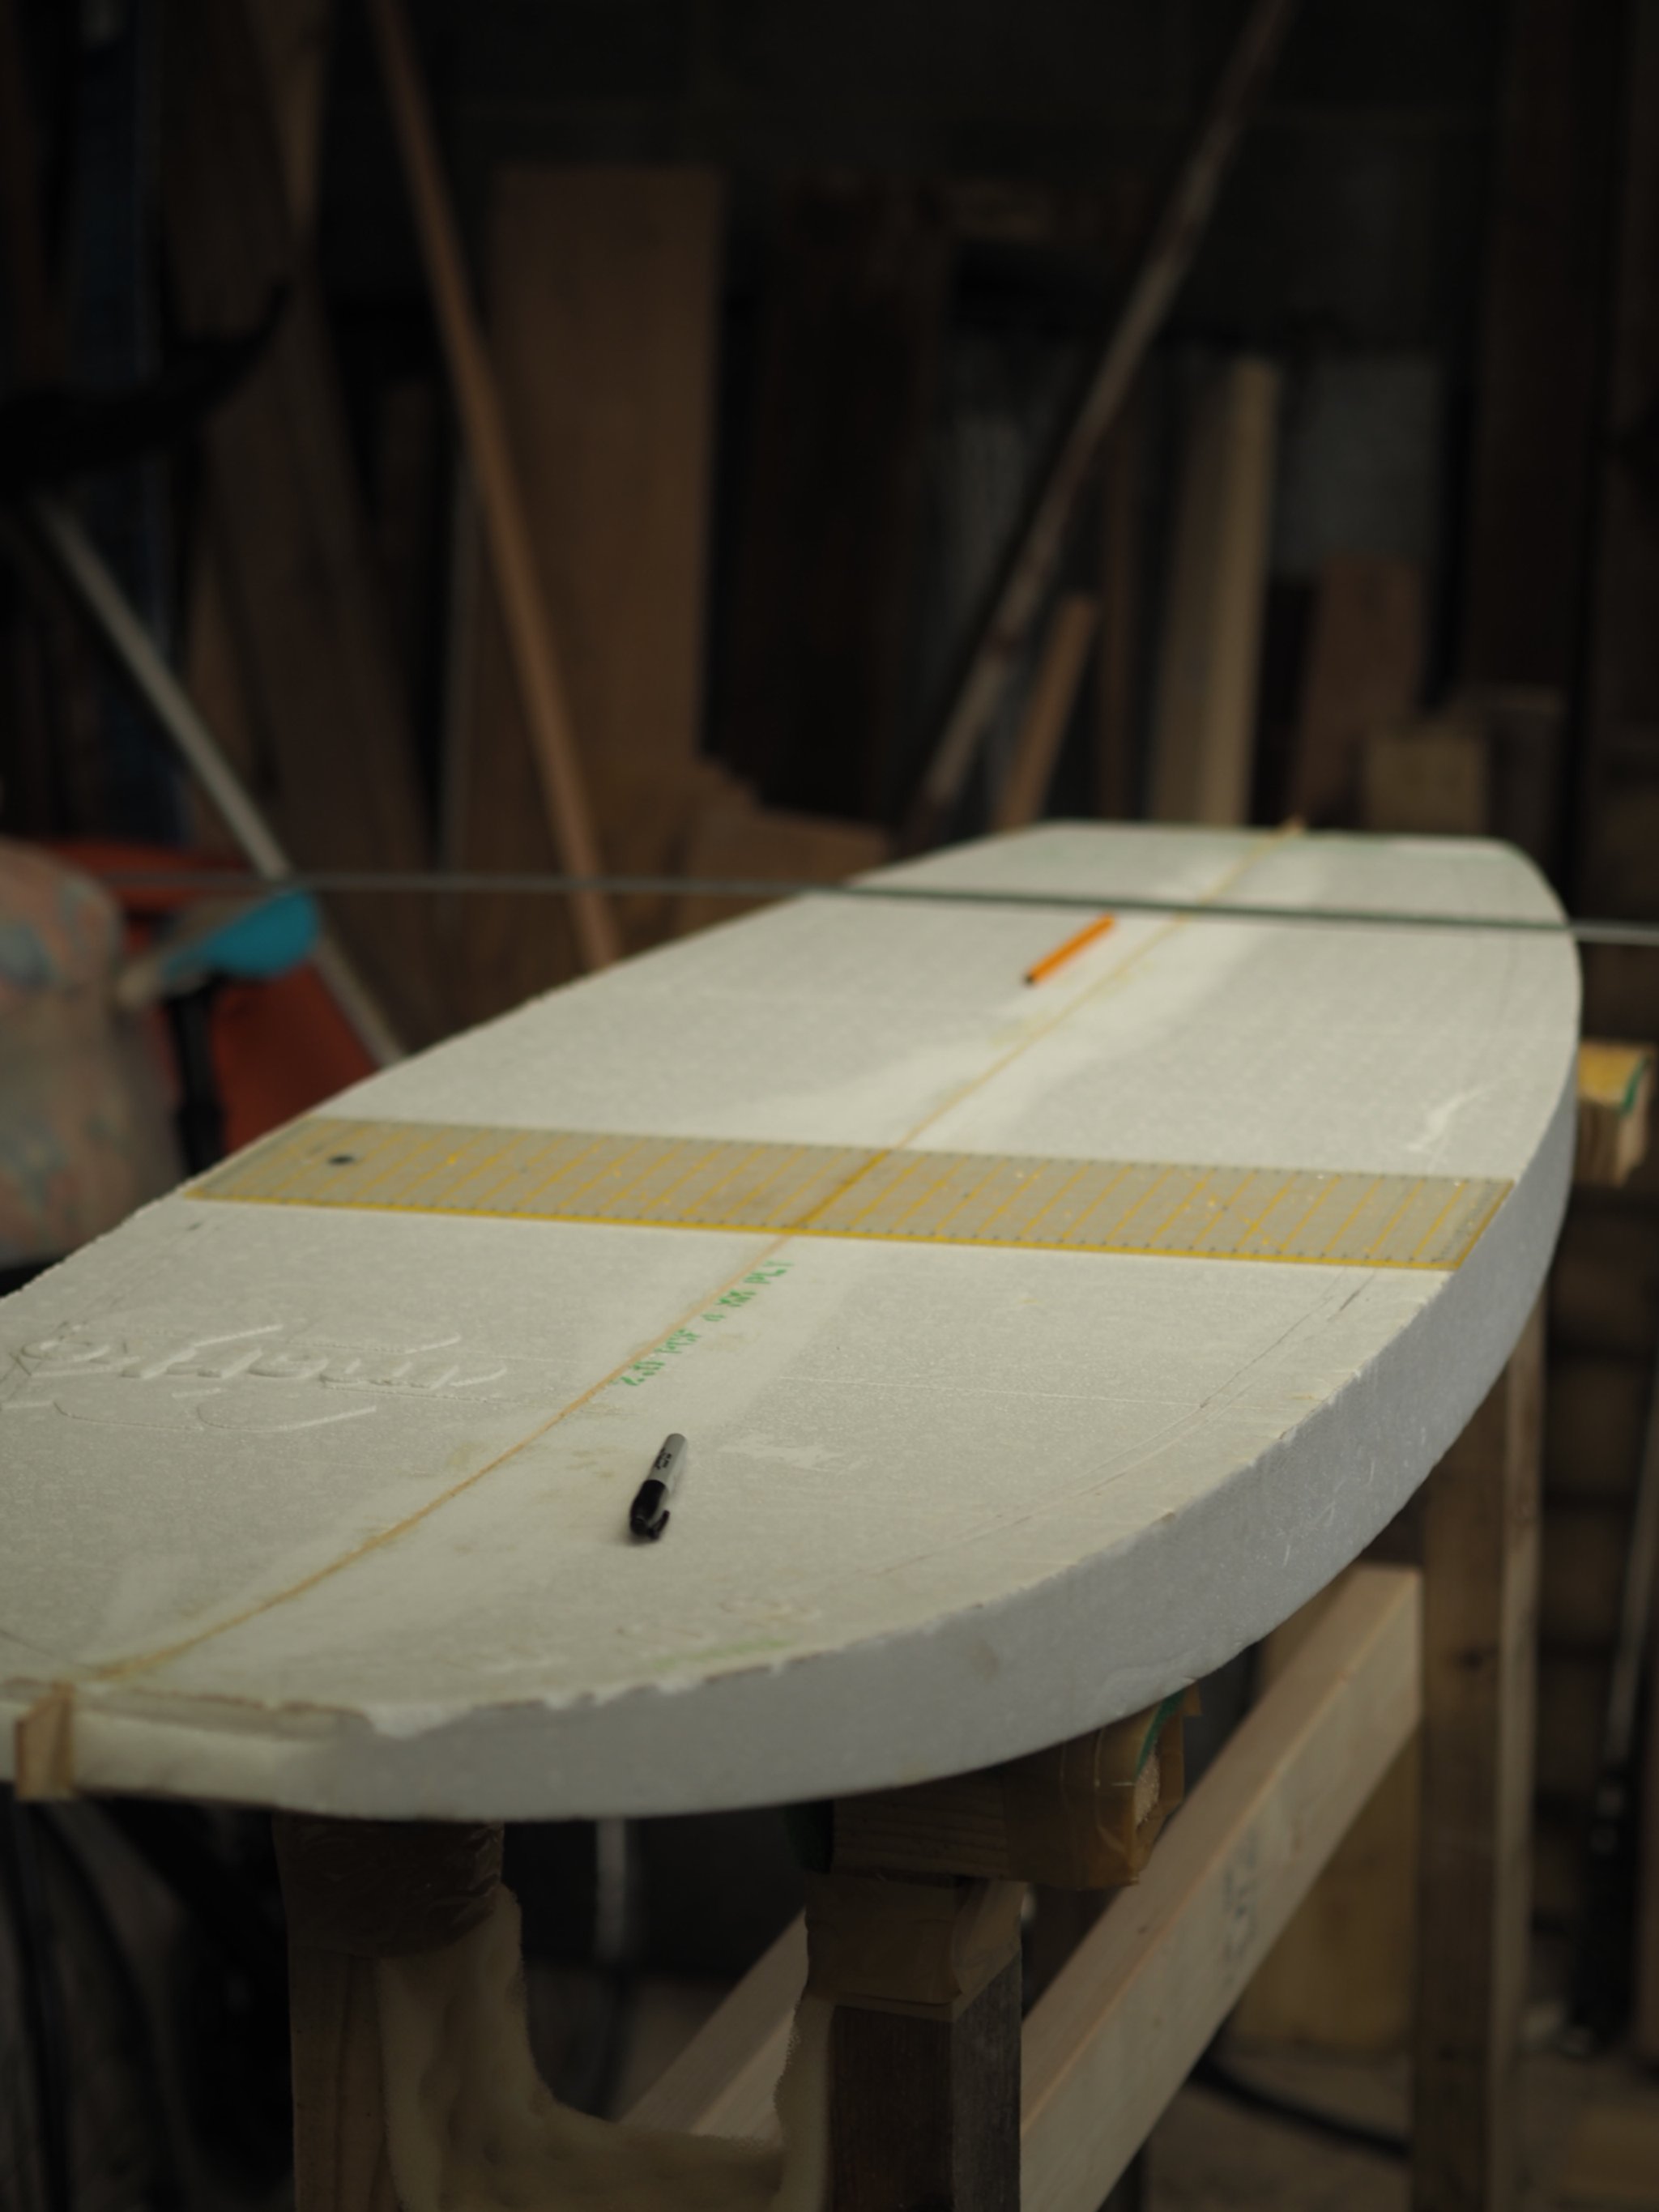
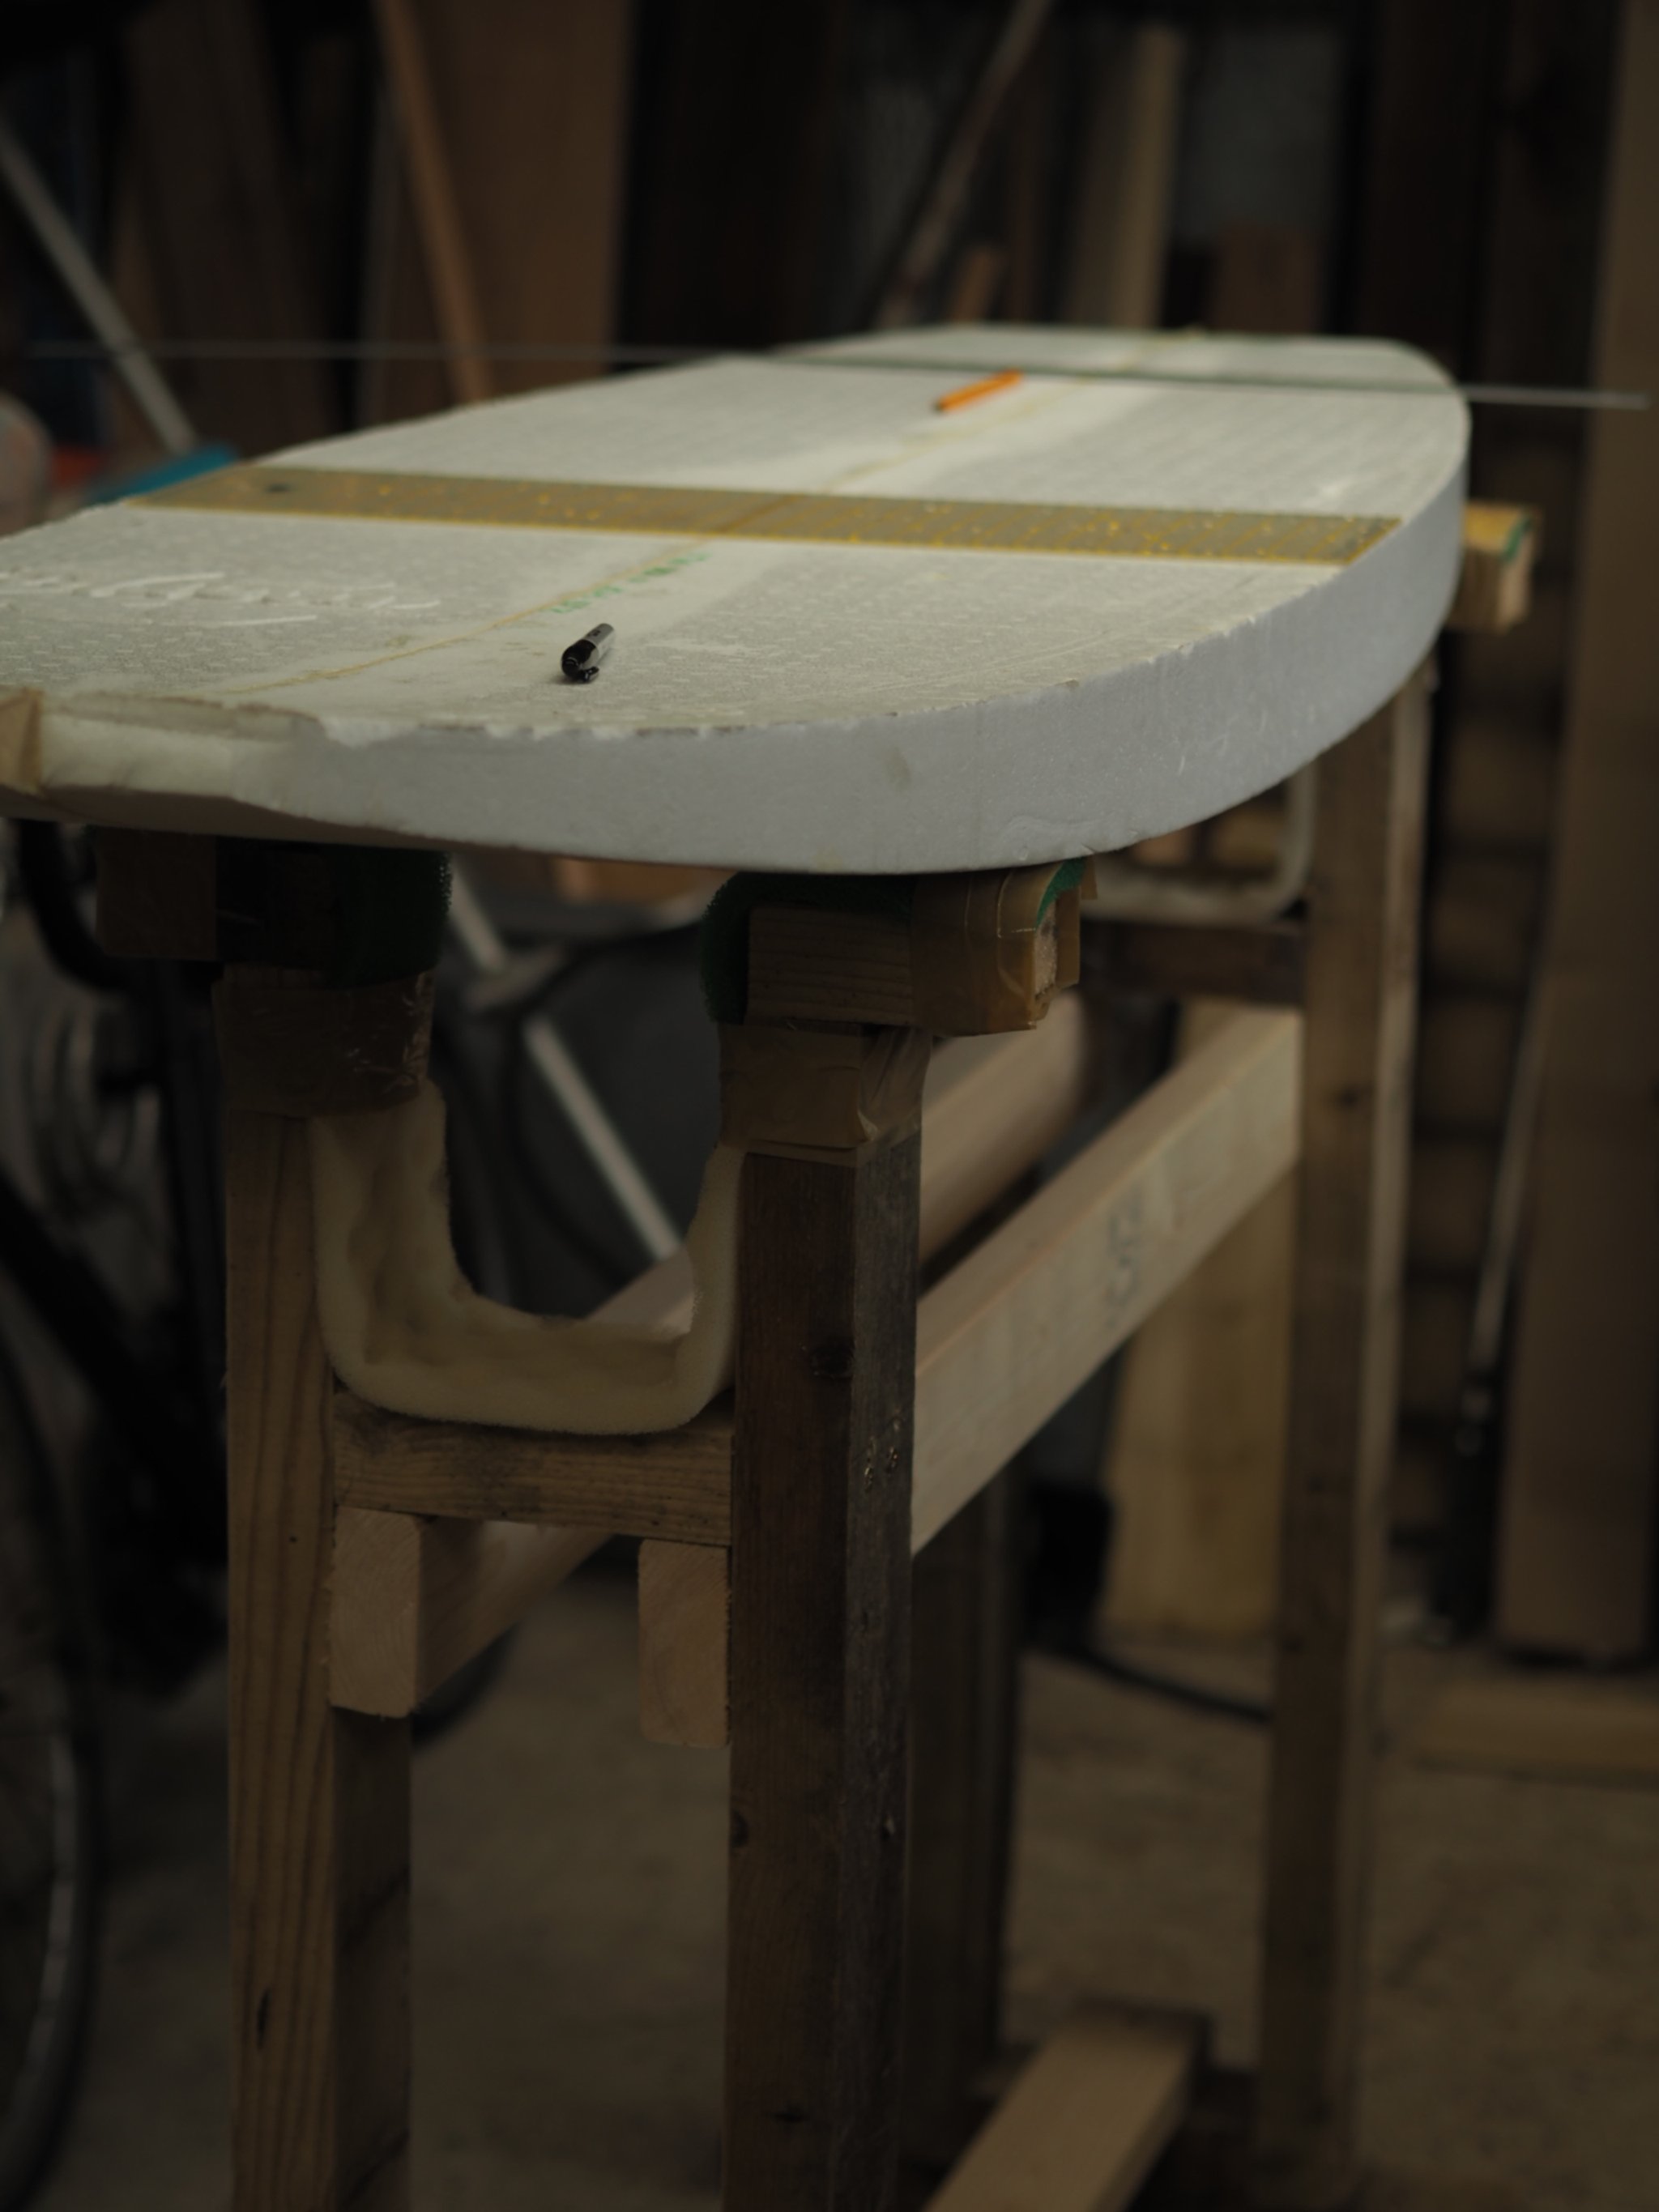
Lie the surfboard down onto the shaping rack with the bottom of the board facing upwards.
With a flat bar (metal or wood as long as it’s perfectly flat) measure the tail and nose rocker.
You can mark the board to indicate how much planing needs to be done to get to the correct gradient.
You will also need to measure the thickness of the board at the tail, 6 inches into the board, the centre, the nose and 6 inches from the nose.
Step 2
Calculate how much needs to come off the thickness of the board at the above markings along with how much needs to come off additionally for the tail and nose rocker. Remember, when you take away thickness from the centre of the board, you are also decreasing the nose and tail rocker.
Step 3
Using your planer, take the thickness down little by little, ensuring the overall thickness is being reduced as well as getting the rocker at the nose and tail correct. Remember you are going to be taking away foam from the deck of the board after this, so you’ll want to leave at least 1/4 of an inch on top of your desired thickness so you can tend to the deck. It’s best to leave too much than too little (obviously)
Step 4
Measure the board again at all locations for correct thickness.
Measure the tail and nose rocker to ensure the correct gradient.

Shaping a Fish Surfboard - Part 2 The Outline
Cutting the outline of the Surfboard
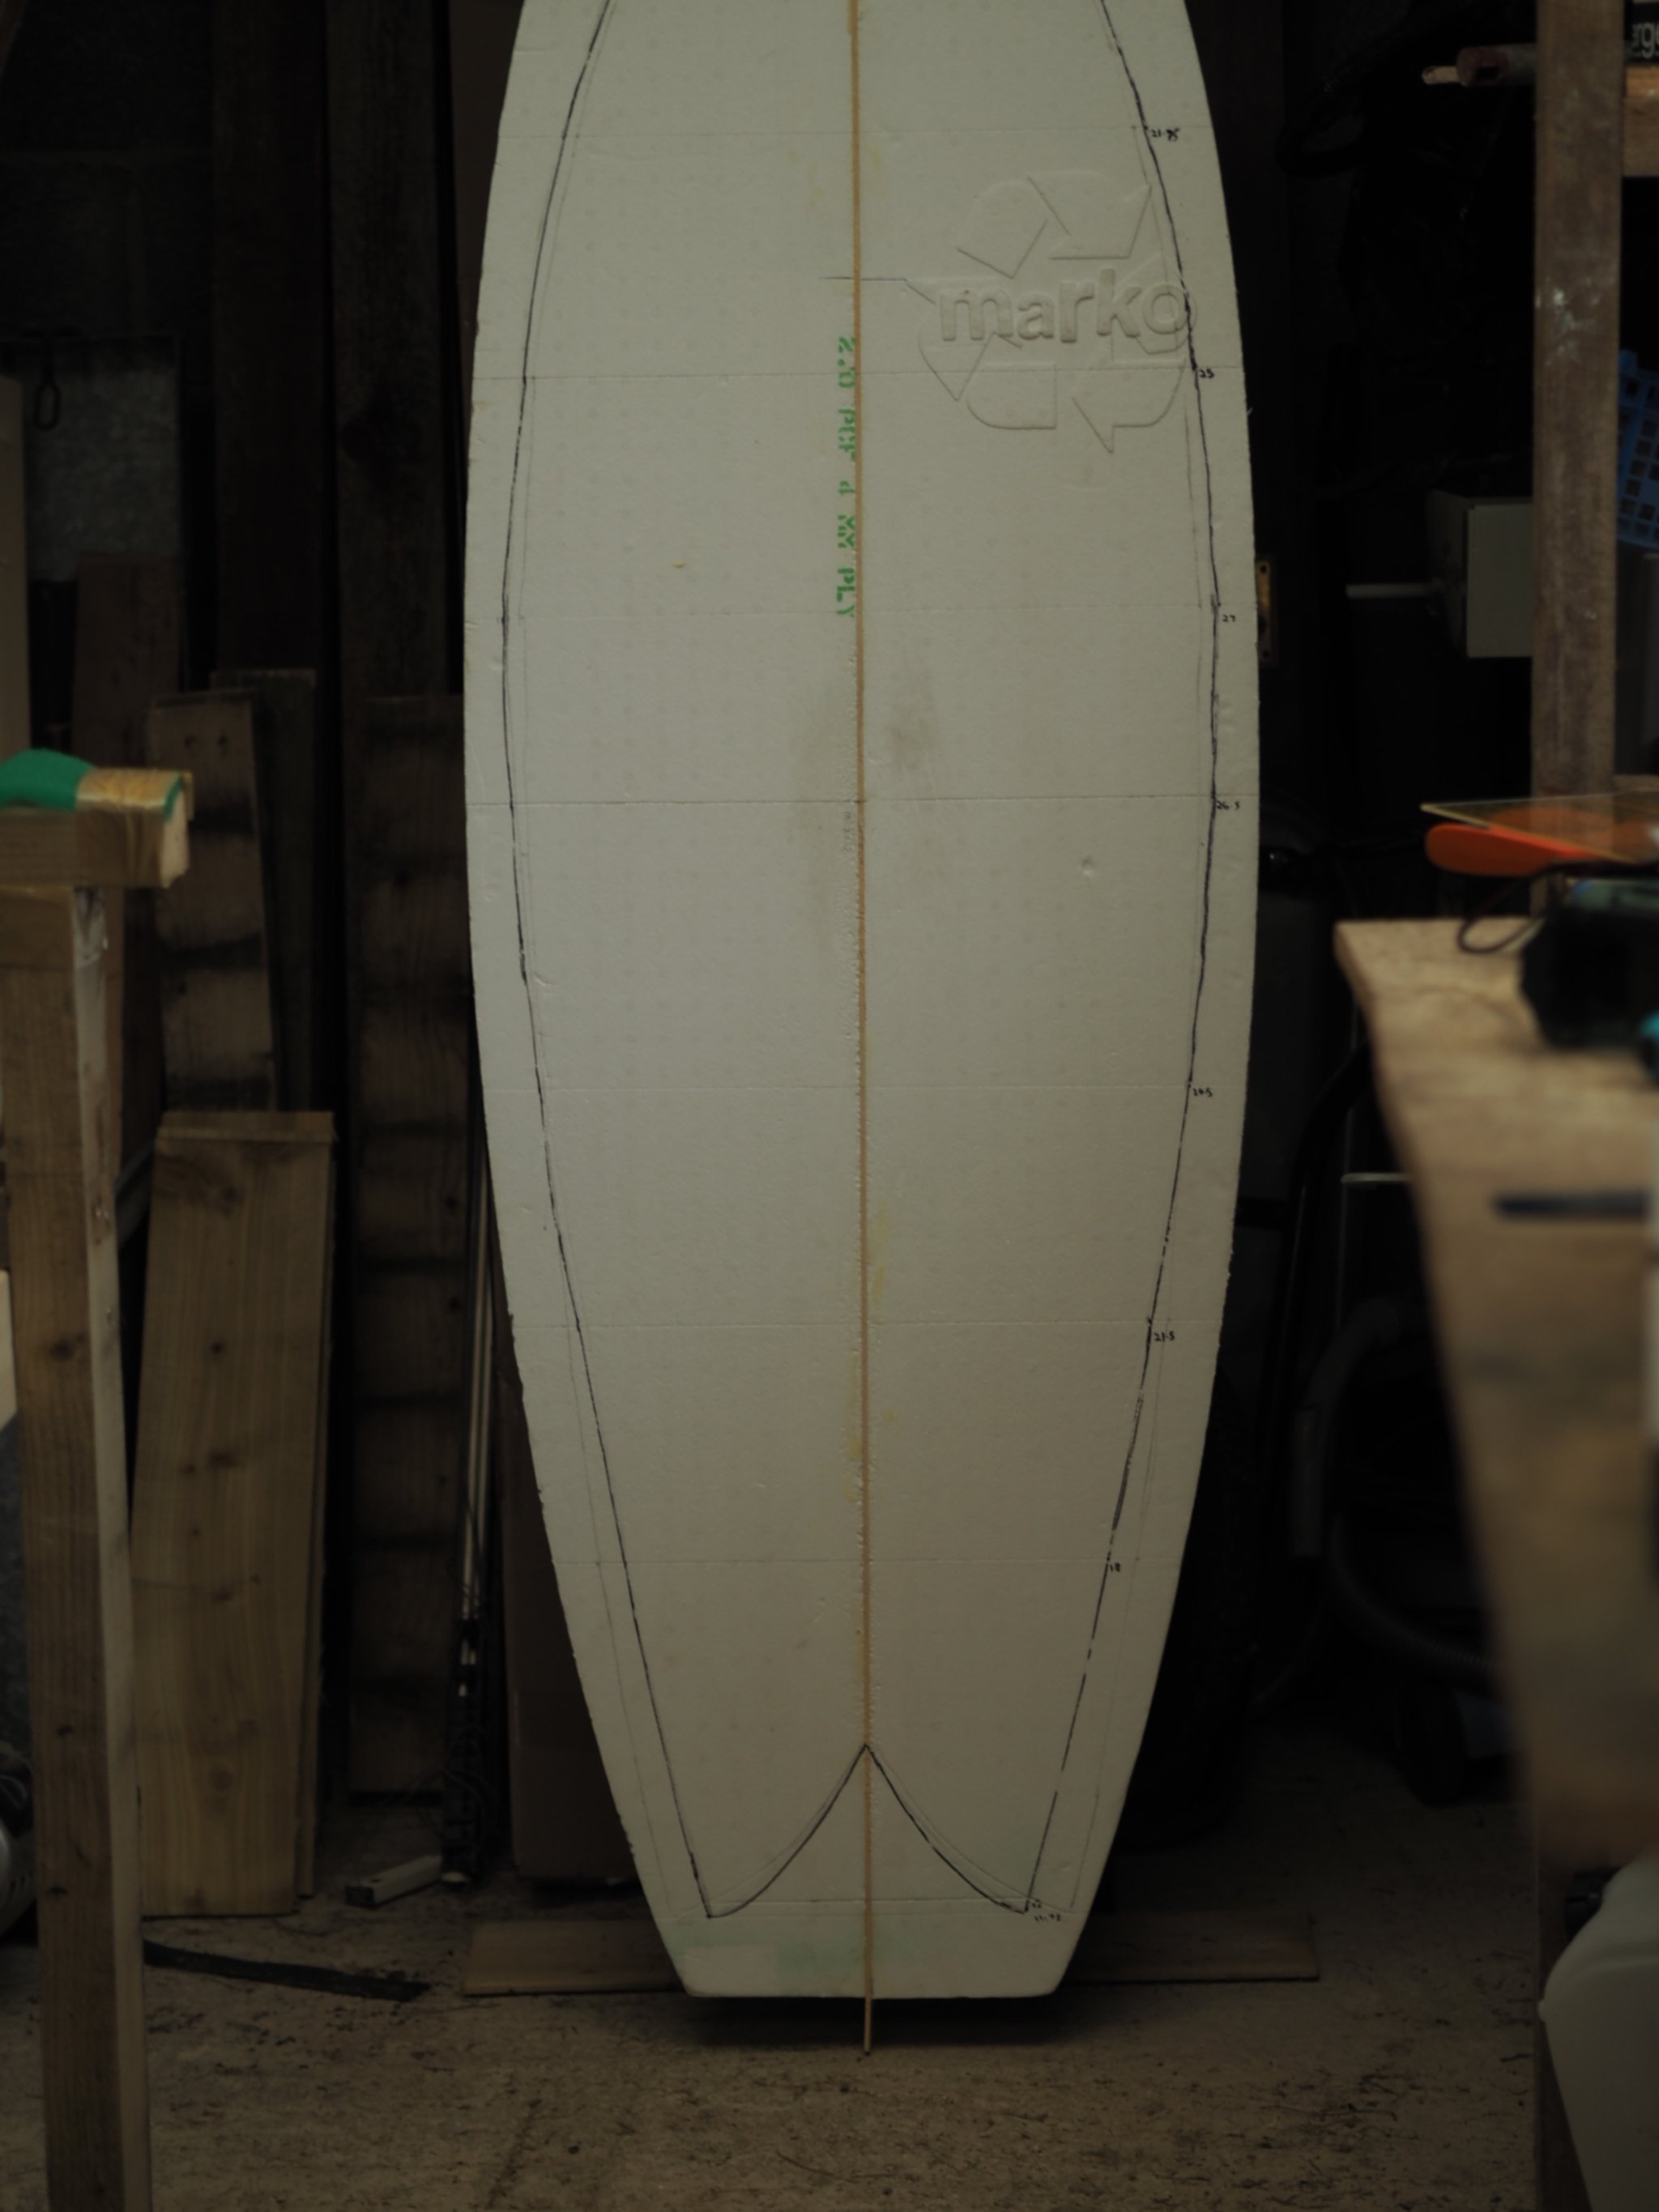
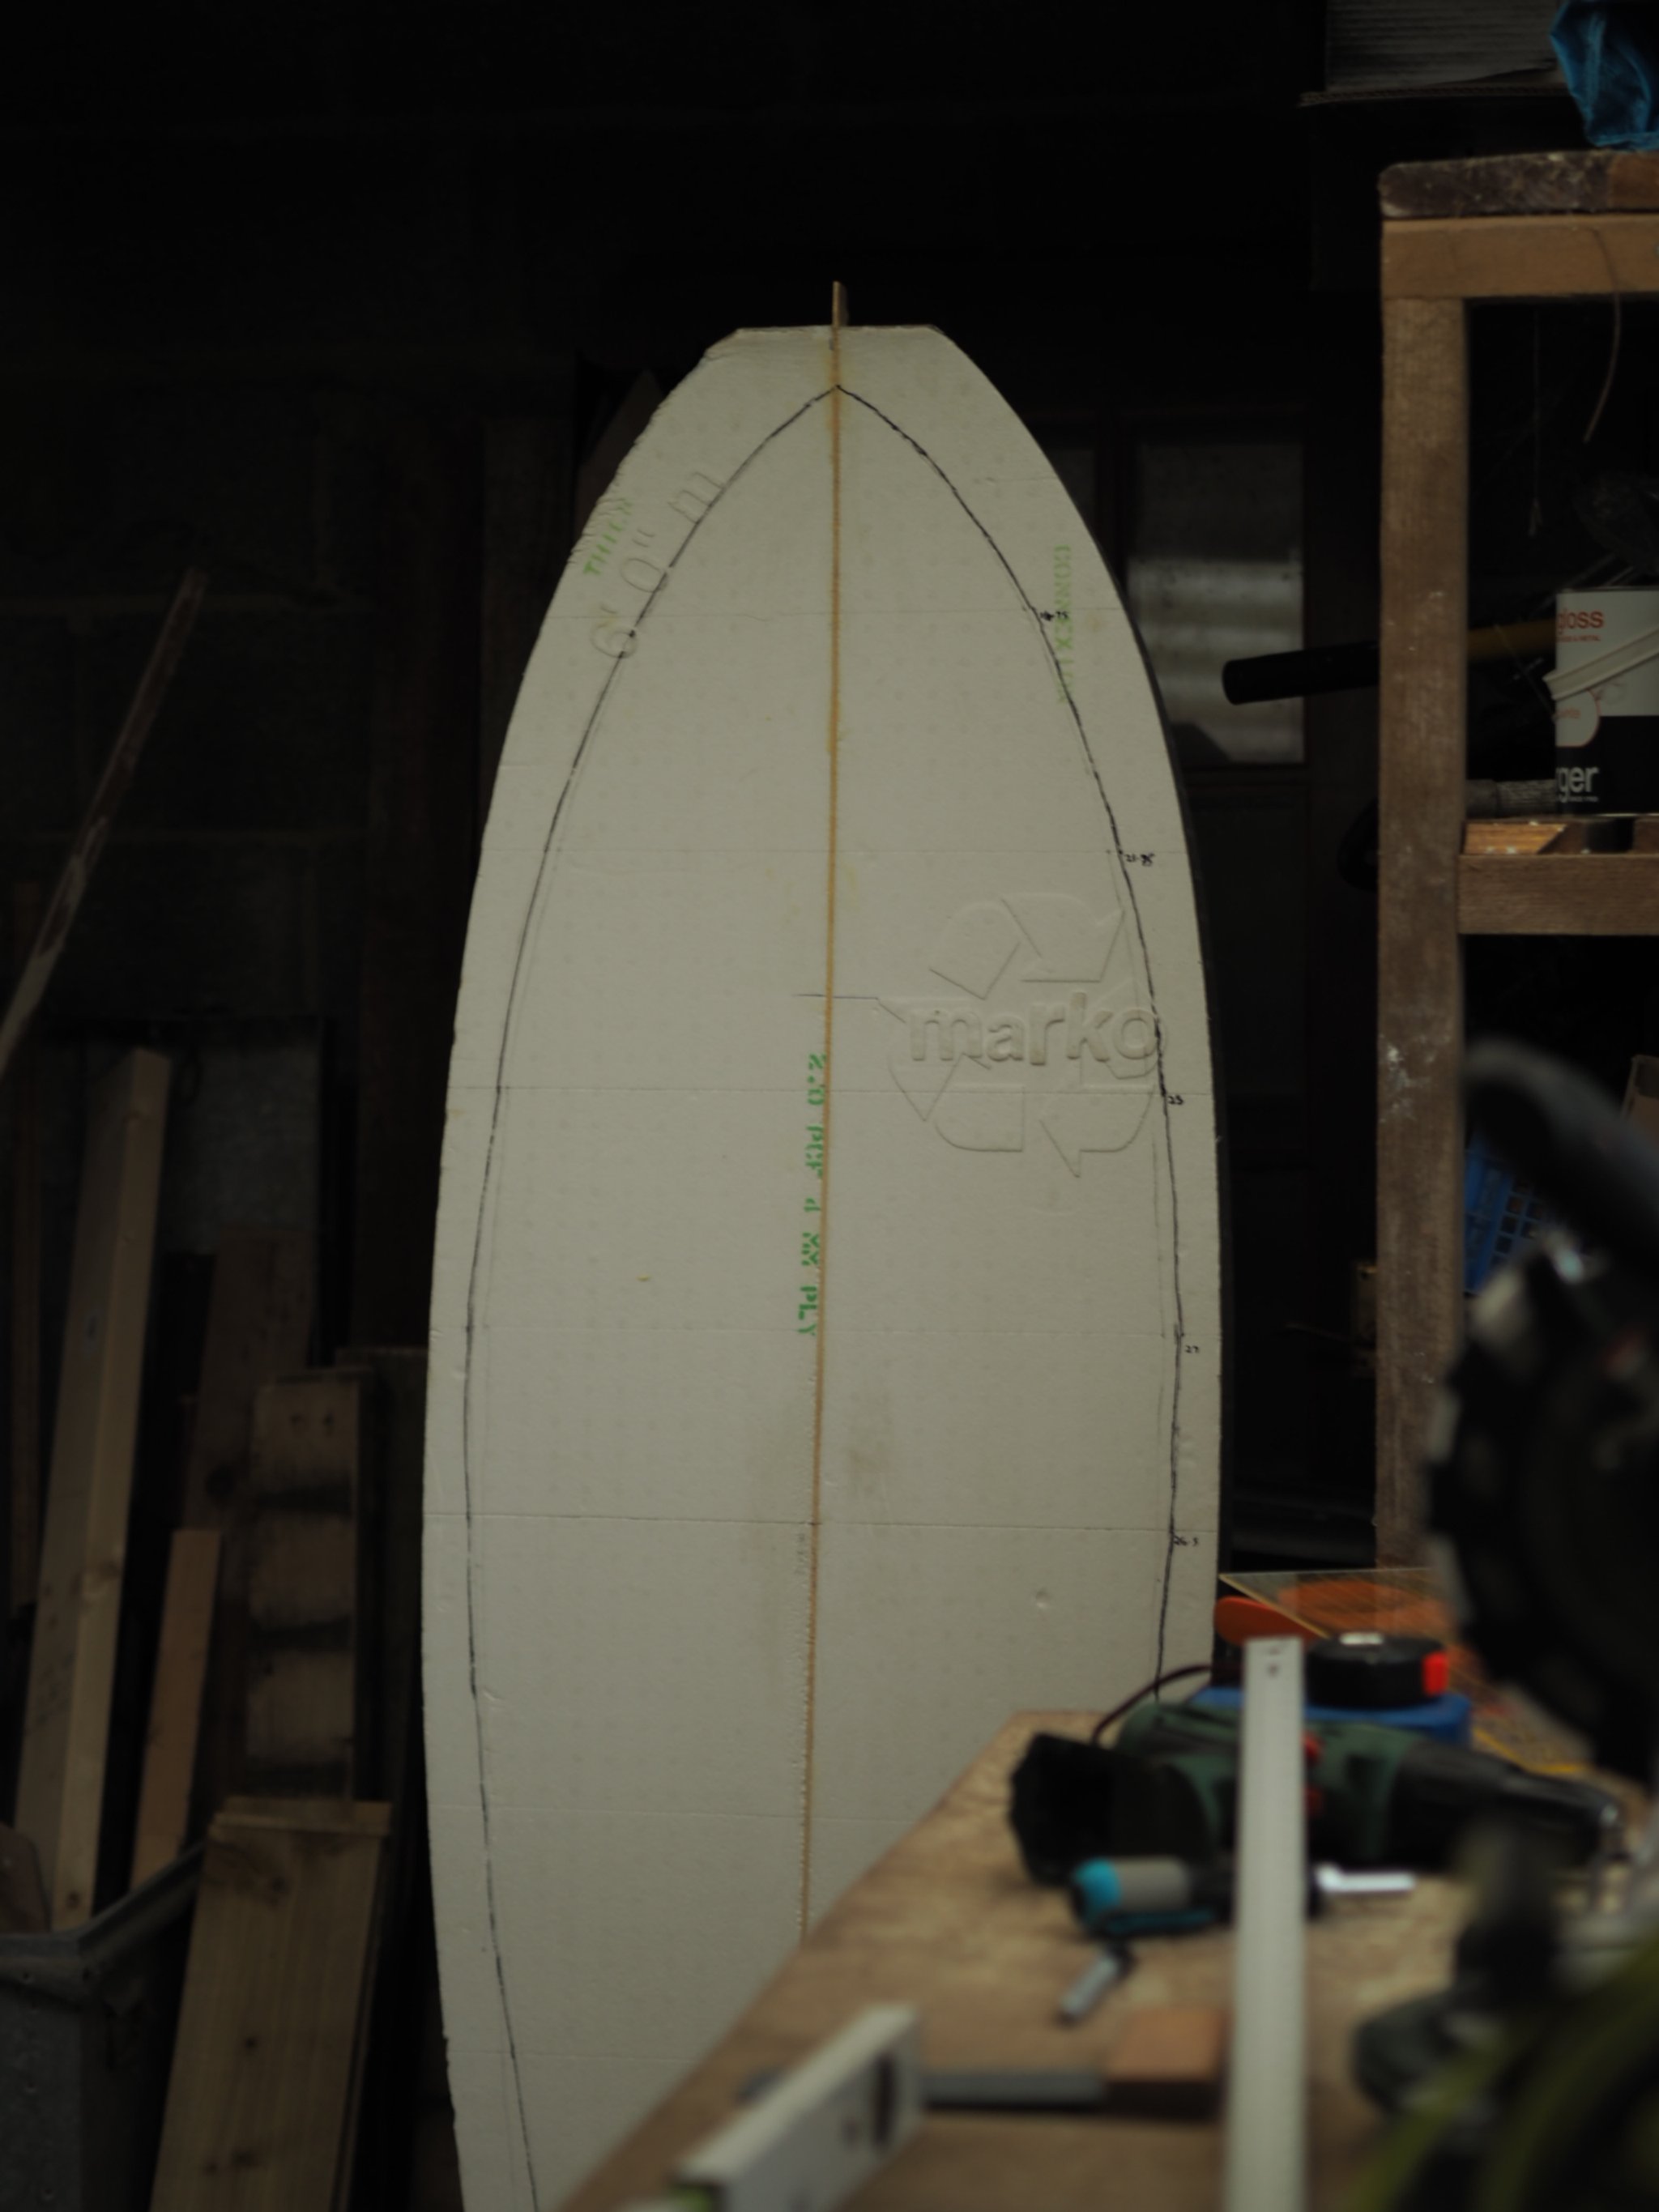
Creating the outline of the board.
I used a rough Fish template from Blending Curves then pulled in the tail to resemble the Christenson Twin Fish. Next we went onto making the first cut.

A rough outline ready to cut


Approximate Time
1.5 hours
Tools needed for the cut.
1 - A Shapers Square. This will help you get a symmetrical outline.
2- A sharp handsaw (Or a jigsaw).
The Process
1 - Once you’ve drawn the outline and you’ve measured the width to be even from top to bottom, you can then begin to make the first cut. This is the first step and very important to get right.
Using a handsaw, ensure the blade is at a 90 degree angle to the surfboard to ensure your cut is square. If you cut at an angle, the deck of the board is at risk of being a different width to the bottom of the board. If confident, you can cut the board just outside of the outline markings. (However, you can give yourself a few millimeters buffer and sand to the line ‘post-cut’.
2 - Using a sanding block, neaten up the edges ensuring a square rail all over. This will help to measure the thickness of the board and to shape the rails.

The Flat Fish - Part 1 The Blanks
The Surfboards Blanks I bought for this project.
Step number 1 - Buy some blanks and get some tools. Luckily, a friend was selling some EPS foam blanks in the local area so that kicked off the project. I purchased two 6 foot blanks.

Marko Foam Blanks - EPS - 6 foot
Marko use EPS foam which can be made from scrap pieces of foam. Their enviro foam boards are made from 25% recycled materials. Unlike PU foam blanks, EPS board building uses less chemicals and emits less toxic chemicals into the air.